Posts Tagged ‘Counter-Strike: Global Offensive’

In this post I will teach you how to turn an image file such as (.jpg, .bmp, .png) into a texture which then can be used in CS:GOs Hammer Editor.

Hammer editor takes texture files as .vtf and .vmt.

VTF (Valve Texture Format) – Is the proprietary texture format used by the Source engine. VTF files are generally referenced in a Material instead of being accessed directly, which allows re-use in different ways.

VMT (Valve Material Type) – Is a text file that defines a two-dimensional surface. It contains all of the information needed for Source to simulate the surface visually, aurally, and physically.

So it works as VTF the texture and VMT is the information that hammer needs to use that texture.

So for the purpose of this post you will need two things;

1- Converter (VTFEditor)

This will use to convert image into .vmt and .vft files. The converter that you will be required to use can be found Here (vtfedit125-11 Archive Version). If link does not work then download it from here.

Open the zip file and extract the files within it. (I use WinRAR to open zip files, if you don’t have it download it here: WinRAR). There will be the files within vtfedit125-11;

vtfeditor

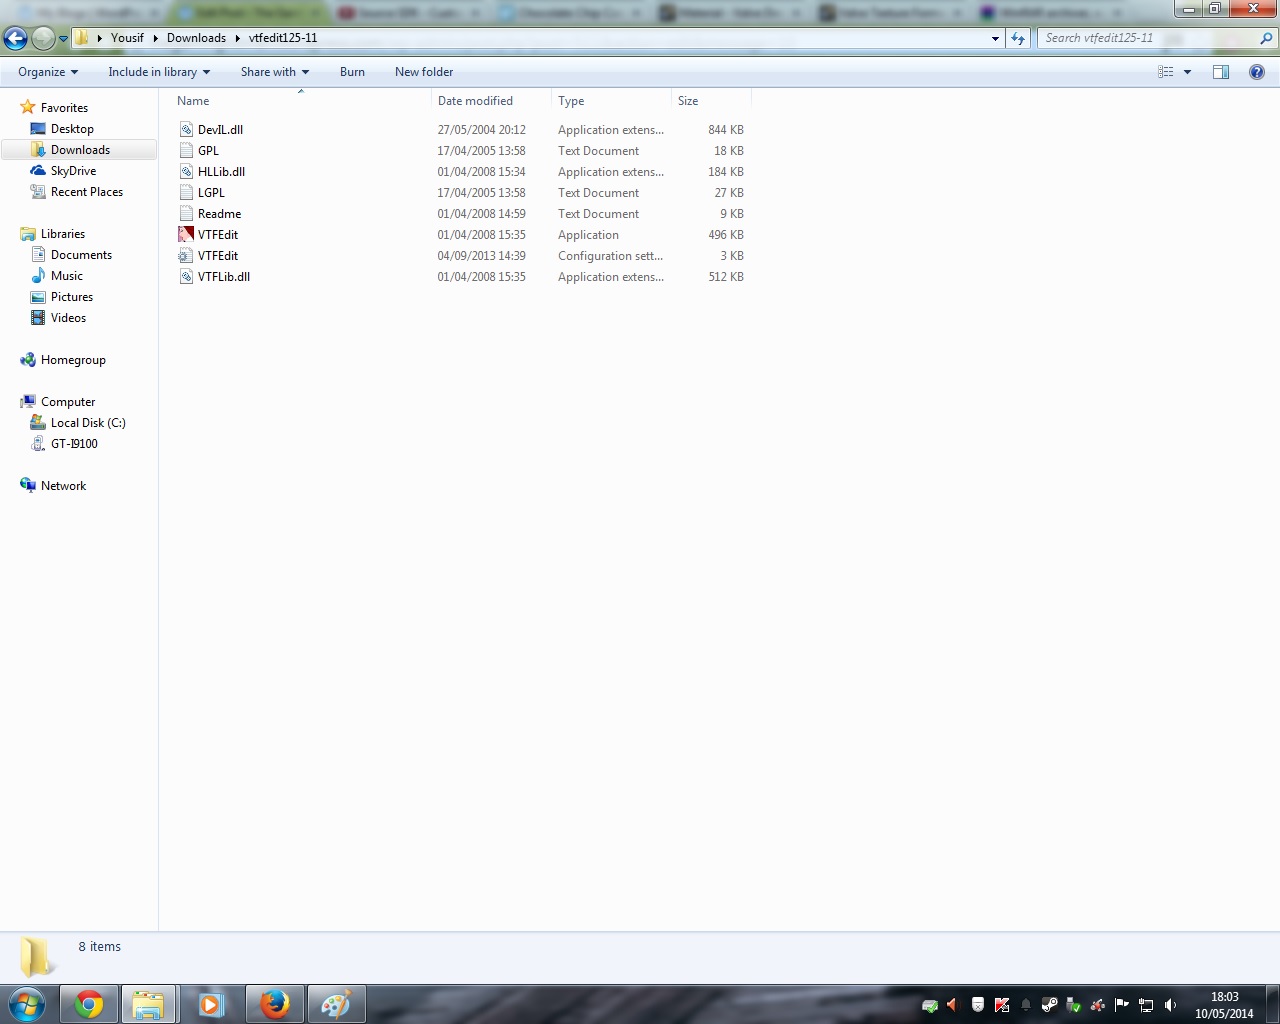
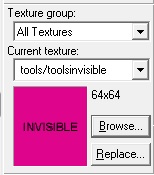
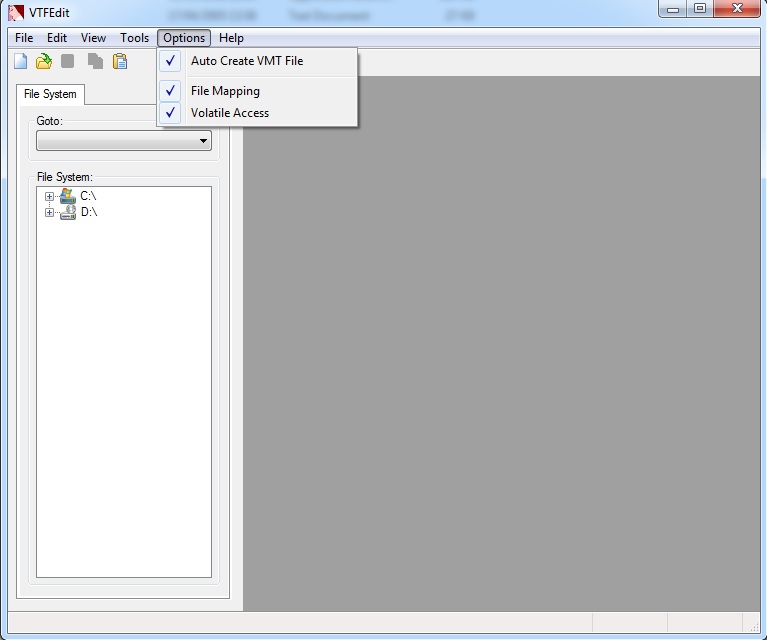
Double click the vtfedit application to open it and under optiosn tab make sure that ‘Auto Create VMT file’ is selected.

vtfeditor1

Now you have that done we move on to selecting image.


2- Image file (.jpg, .png ..etc)

Note: Source engine requires images dimensions to be of power of two (64×64, 128×128, 1024×1024, 128×512 256×1024 …etc).

I have created an image that is 128×128 (Right click the image and ‘Save image as..’ if you want it);

RedSteel


Converting Image File

Now that we have converter downloaded and have the image that we want to convert, we move on now to creating the vmt and vtf files.

Open up vtfeditor, under File tab select Import

import

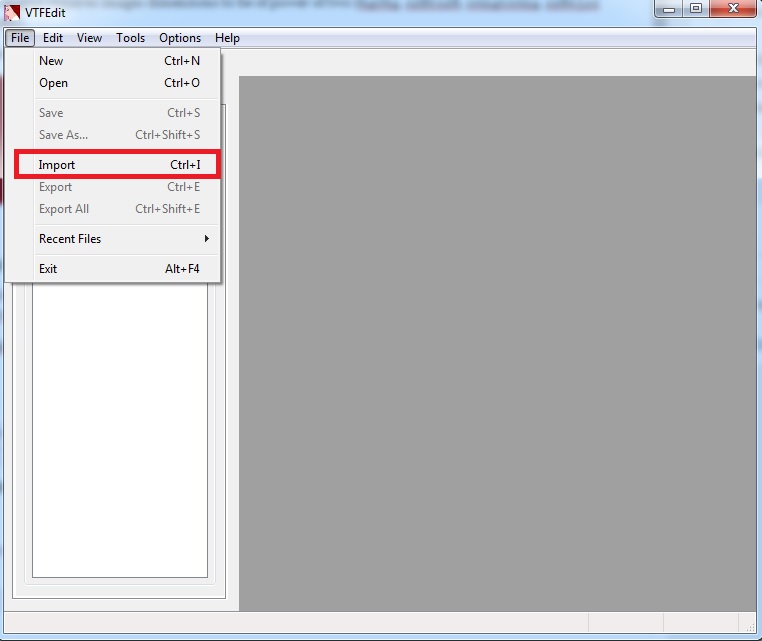
A Dialog box will open, here you will search for the image file that you want to import in the software. When you find it double click it to select it. After selecting it another a ‘VTF Options’ window will show, leave everything and just press OK.

vtfoptions

Now you will reach to this stage

vtfeditorred

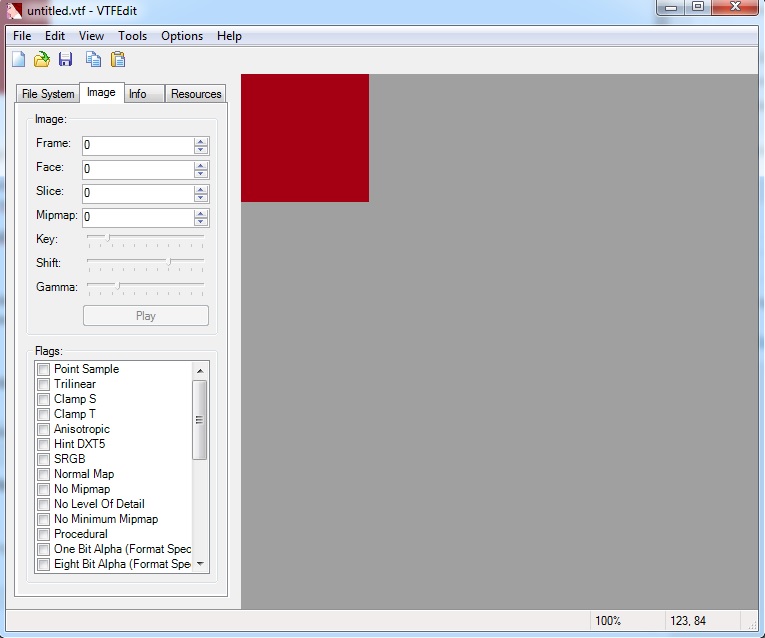
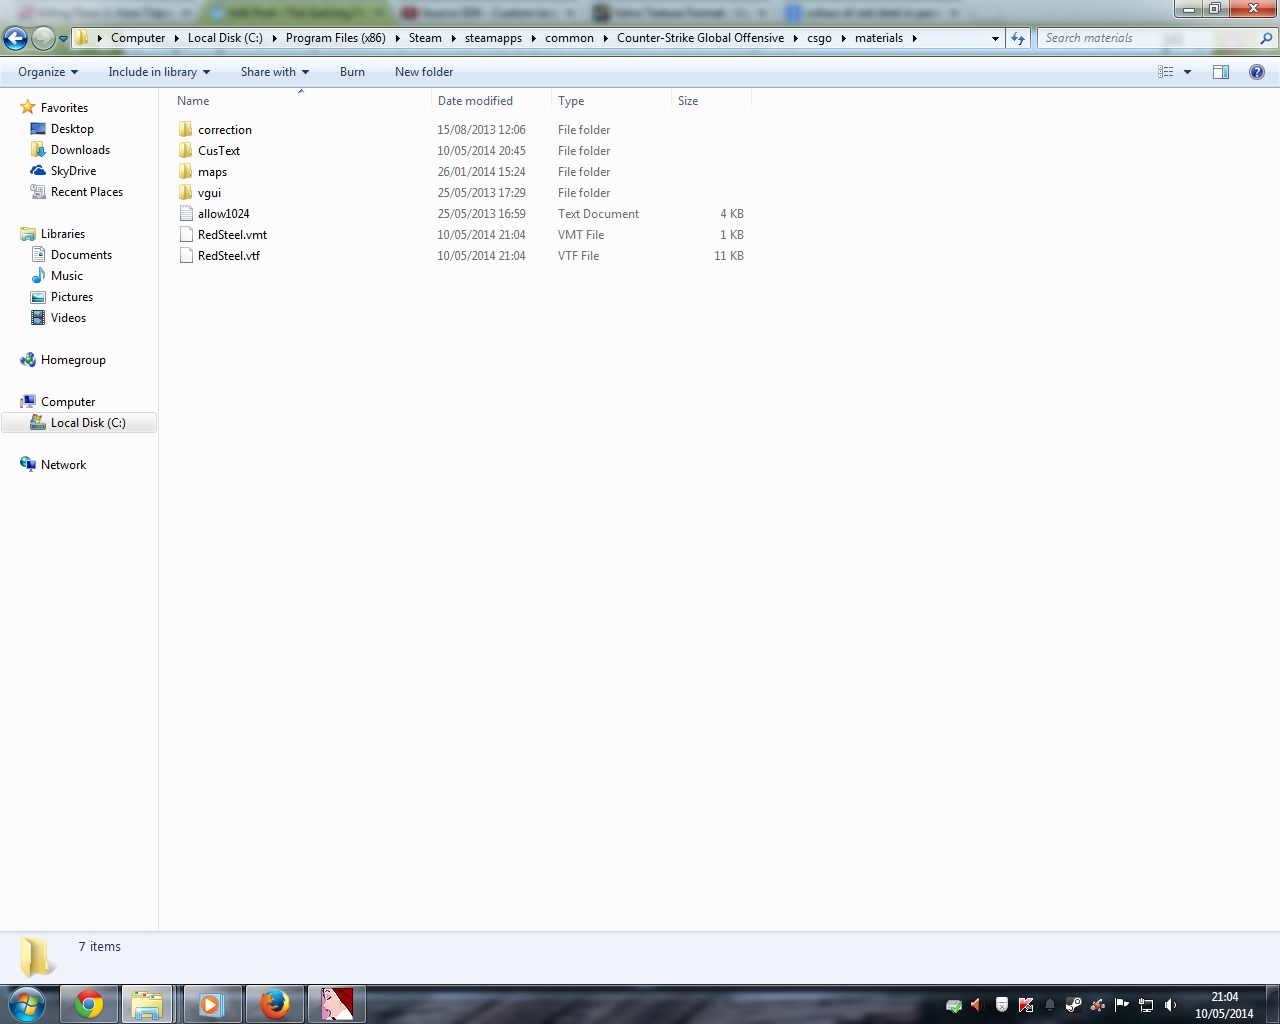
All is left to do is name and save it at the appropriate file location. Hit file table and click ‘Save’ or ‘Save As’. A dialog box will show, give the file a name and save it in the game materials folder. Here;

C:\Program Files (x86)\Steam\steamapps\common\Counter-Strike Global Offensive\csgo\materials

savesteel

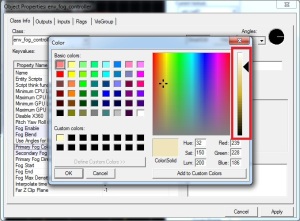
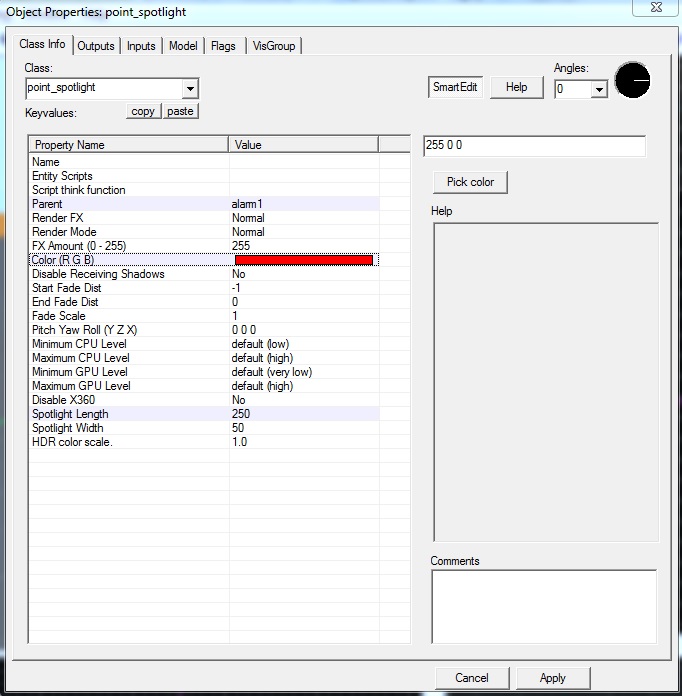
All you need to do now is check if the information in the .vmt file is correct. Select and right click the file, and click on ‘Open With’. (If you don’t see ‘Open With’ then double click it and select option ‘Select a program from a list of installed programs. Select Notepad and deselect ‘Always use the selected program to open this kind of file’) This is how vmt file will show;

vmt

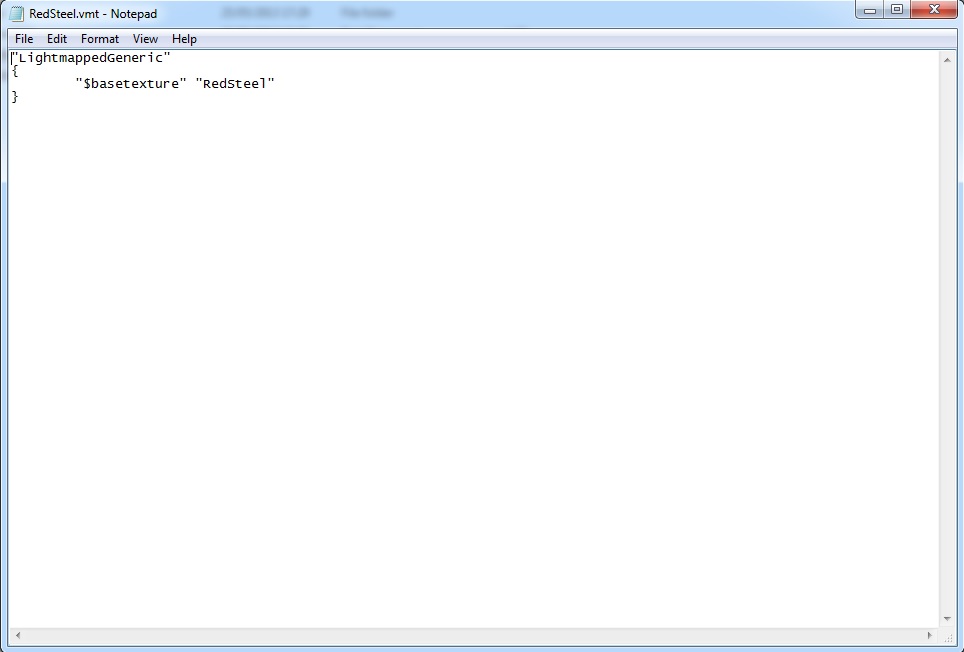
If you plan to save them in a custom sub folder, then make sure you add sub folders name before the texture in vmt file. Like so “$basetexture” “CustomTexture/RedSteel”. If not then leave it as it is.

Note: Make sure that they both in the materials folder.


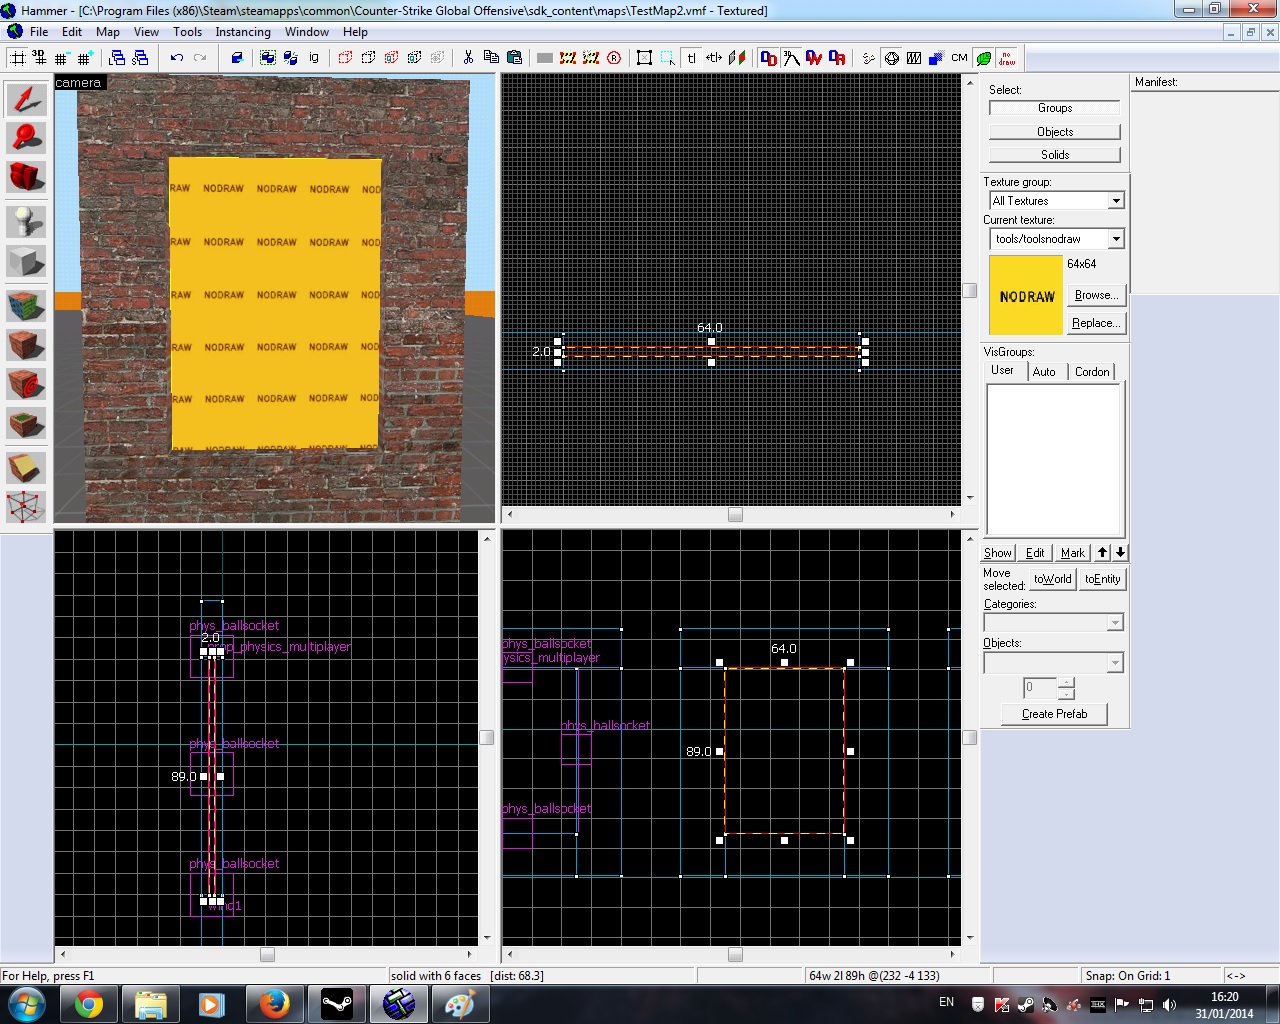
Testing the Texture in Editor and in game

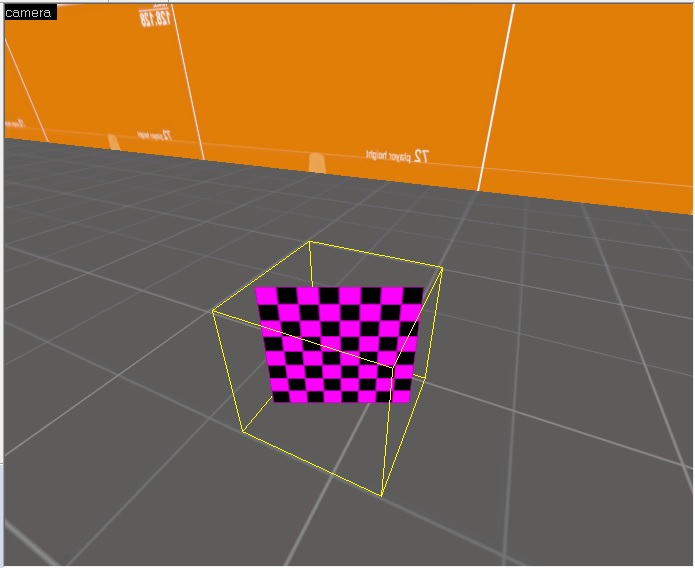
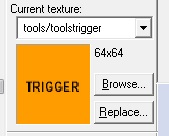
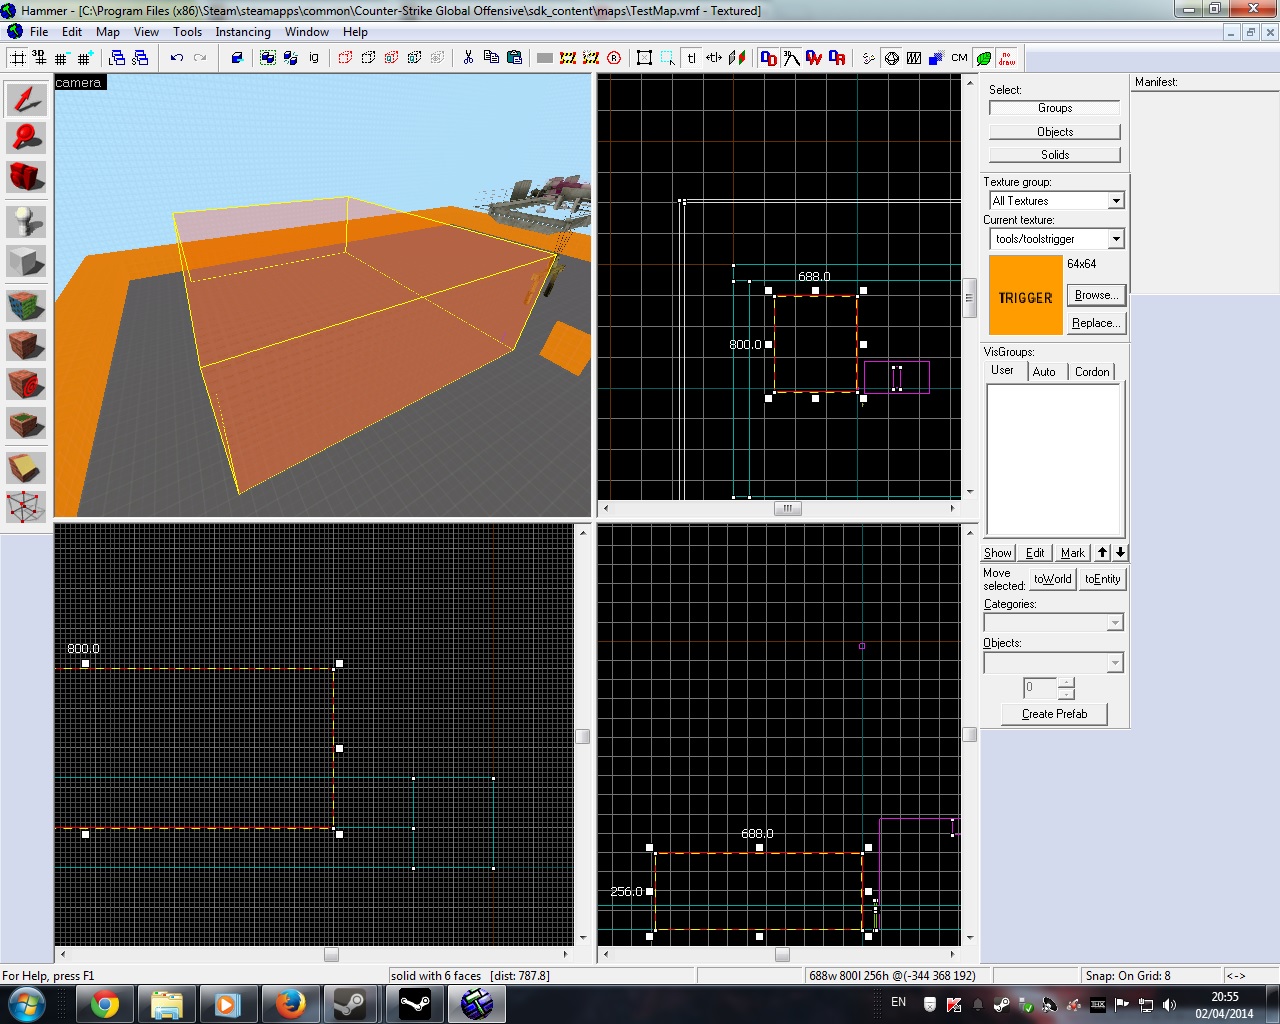
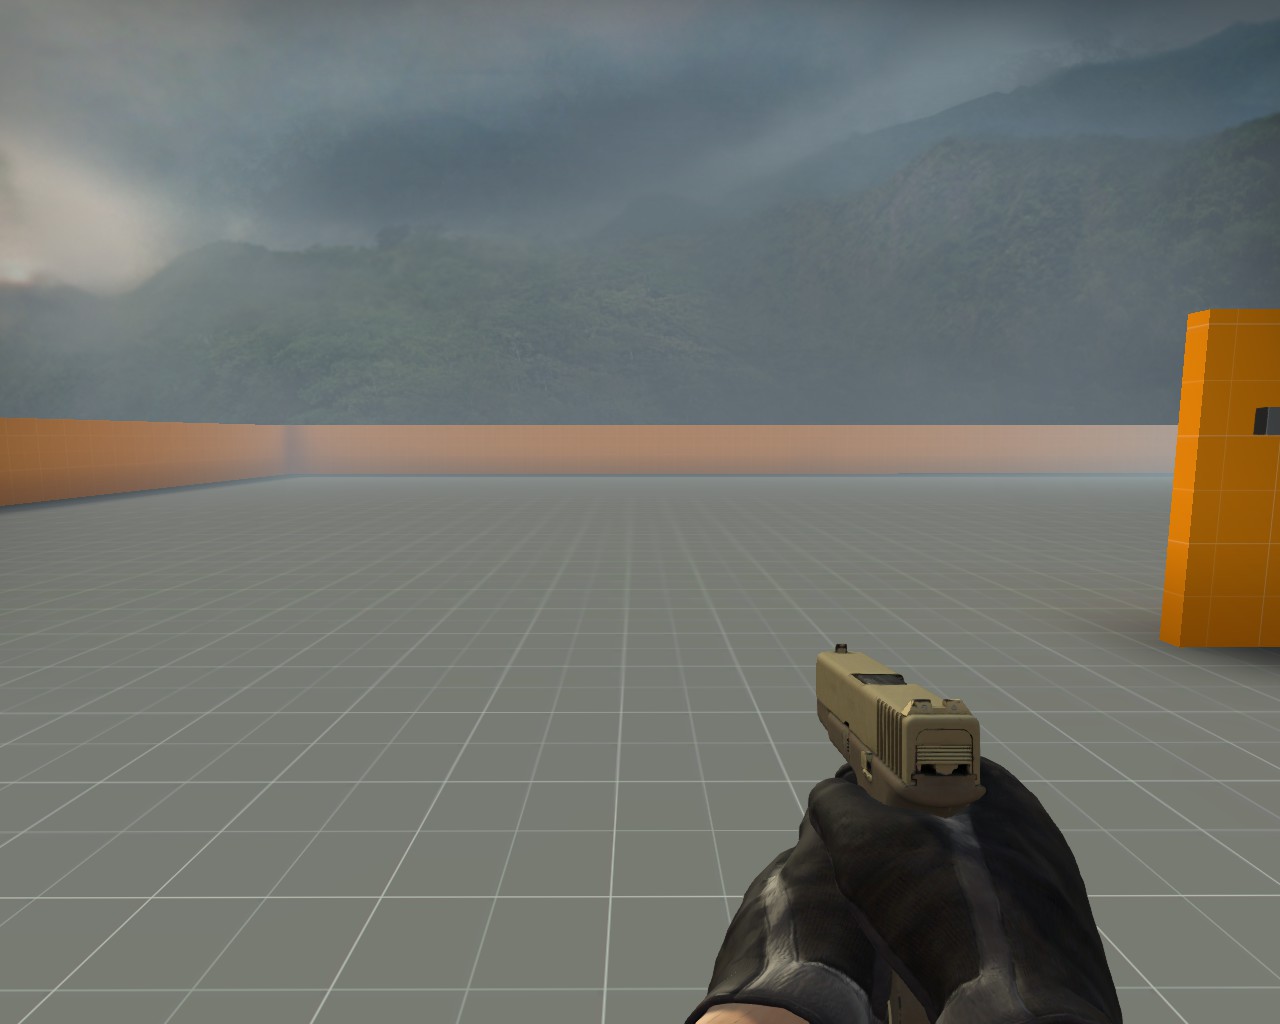
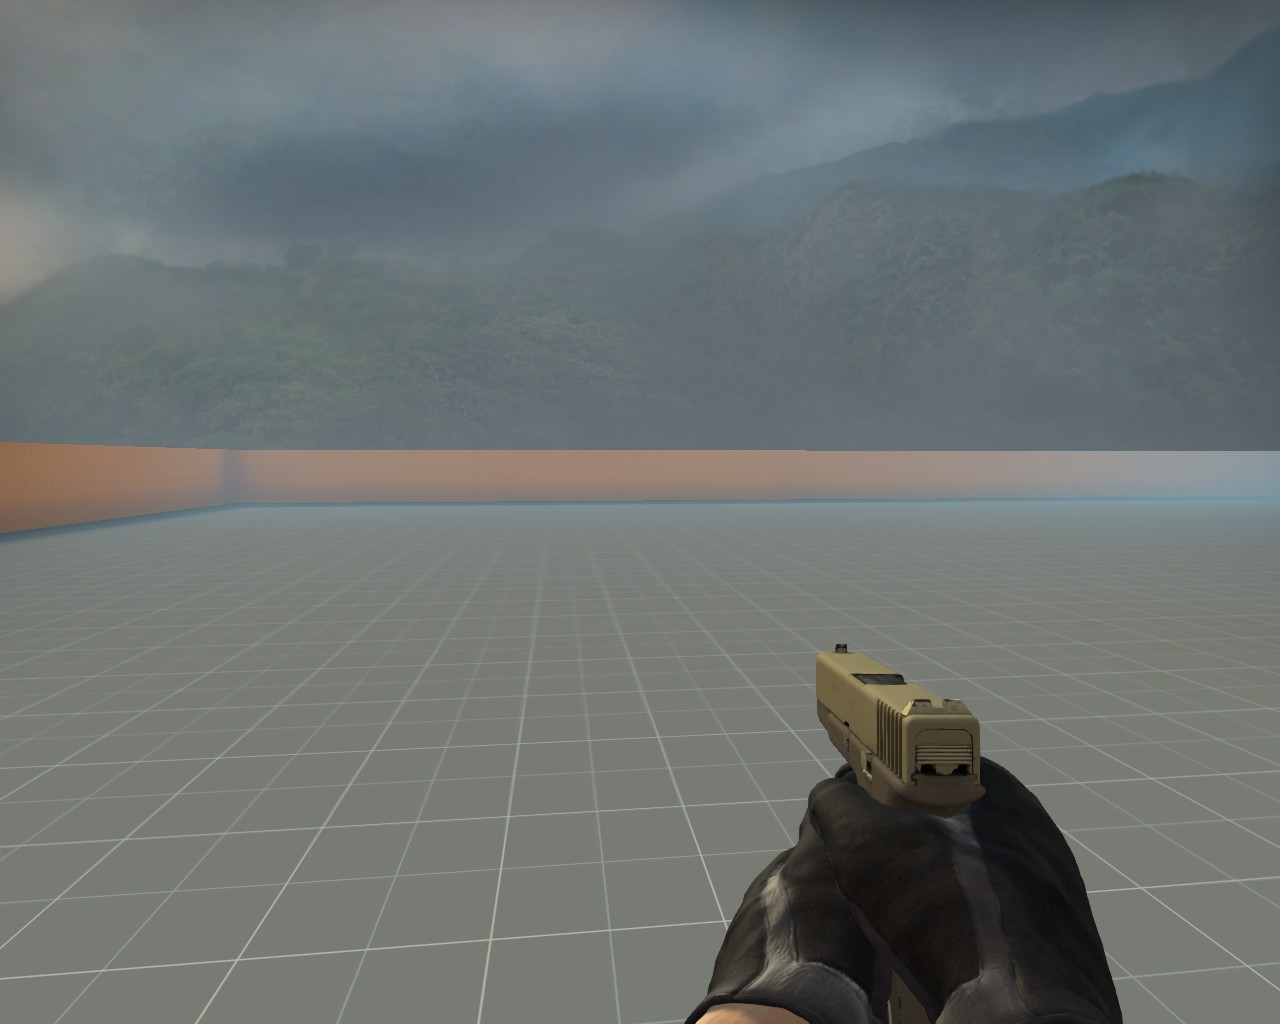
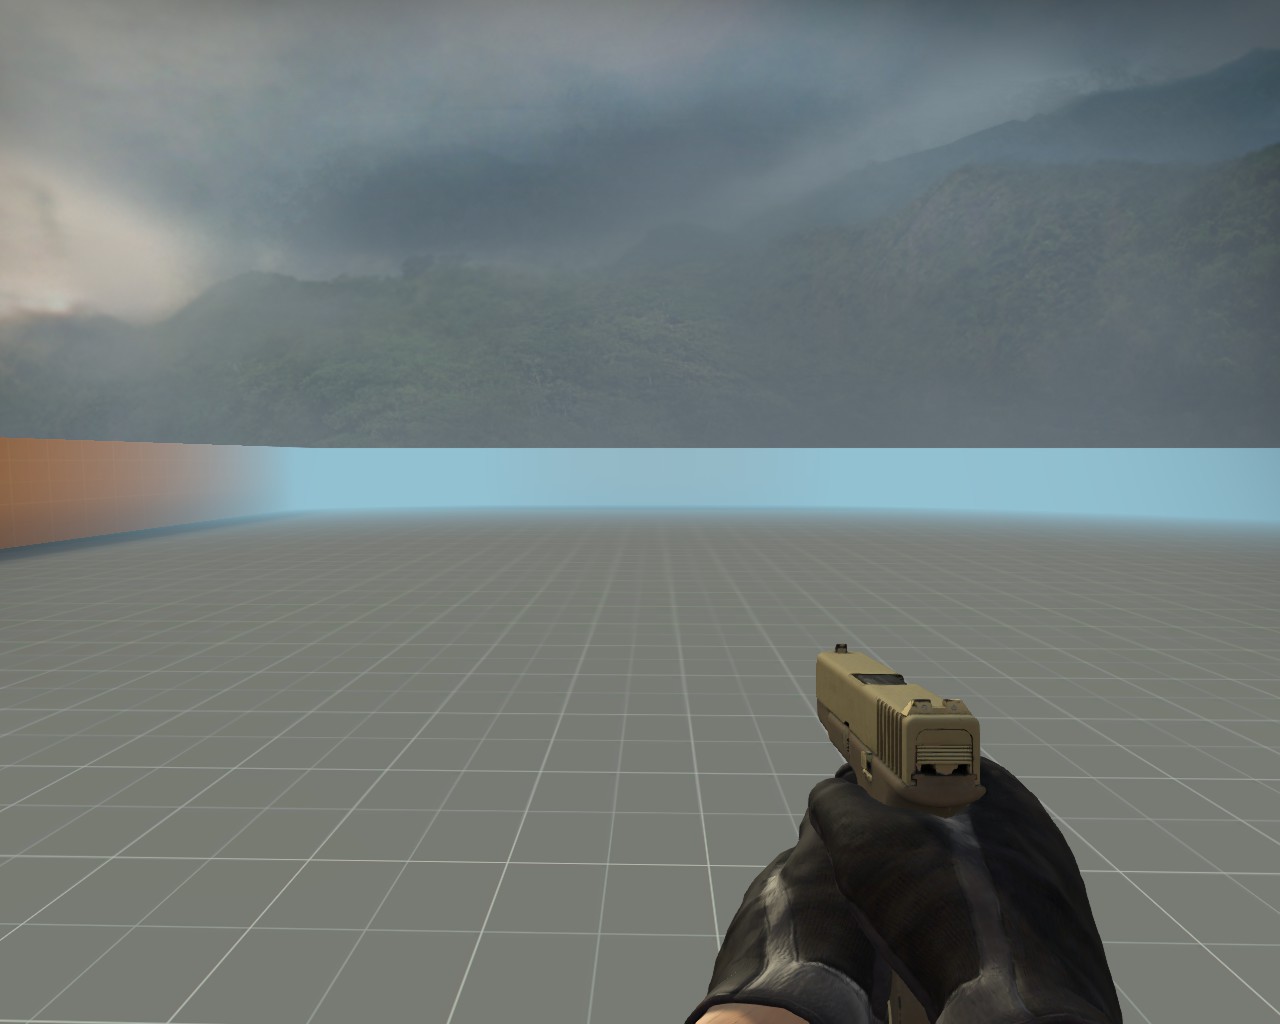
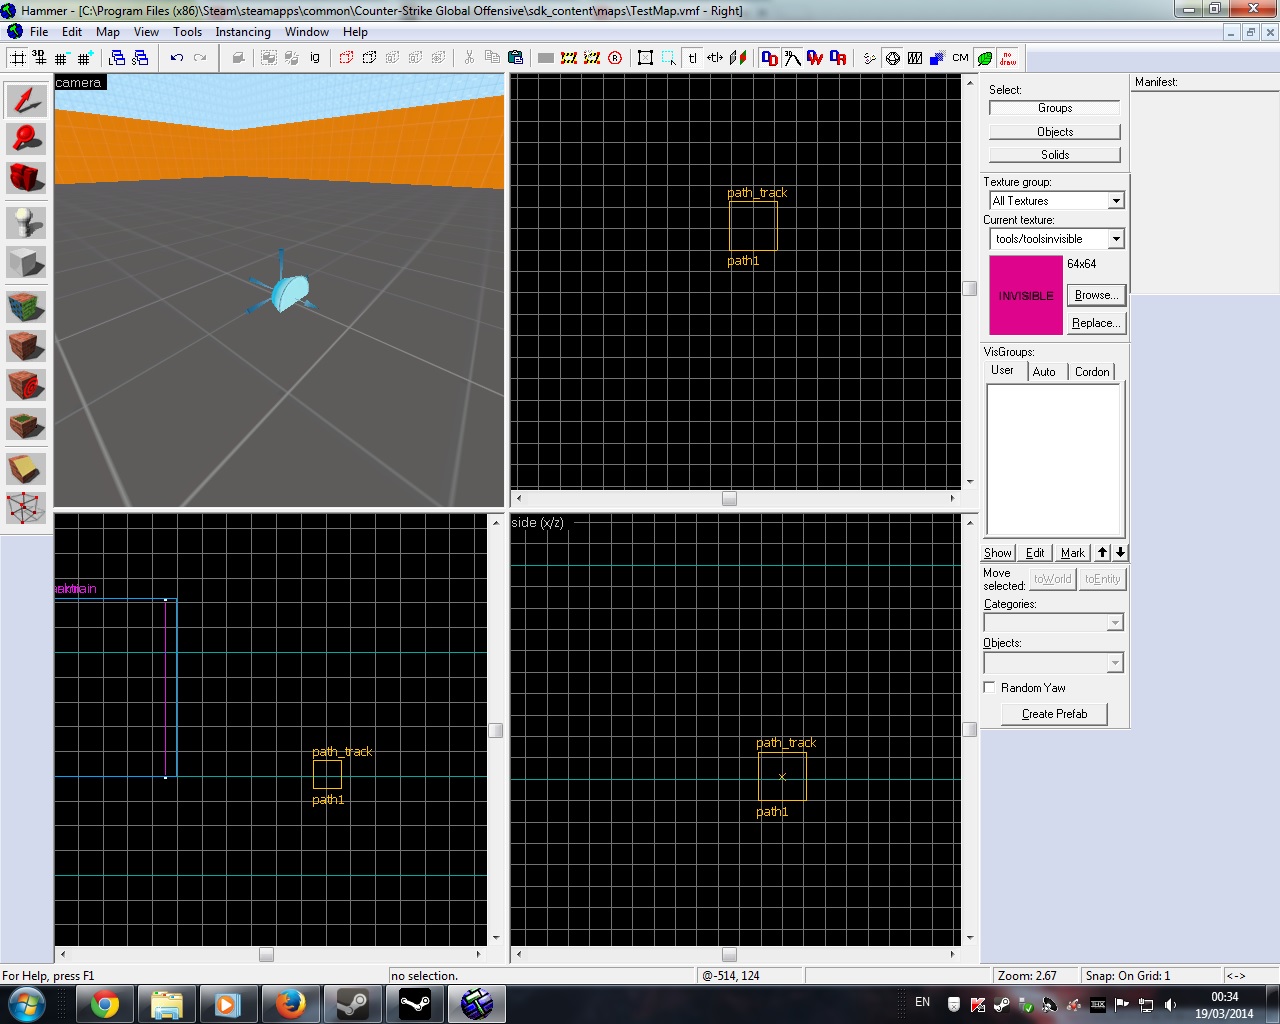
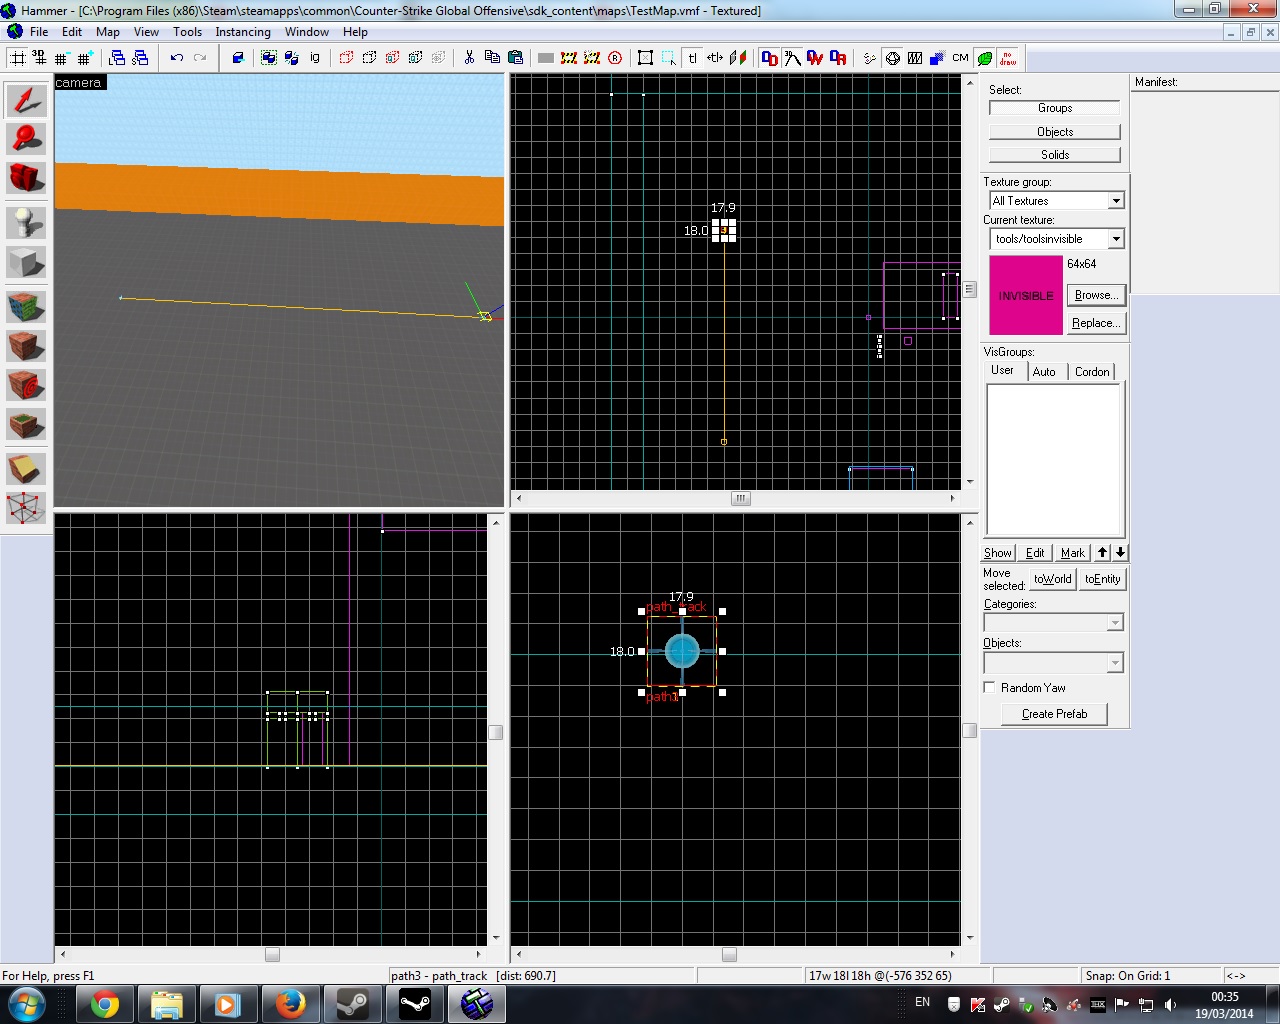
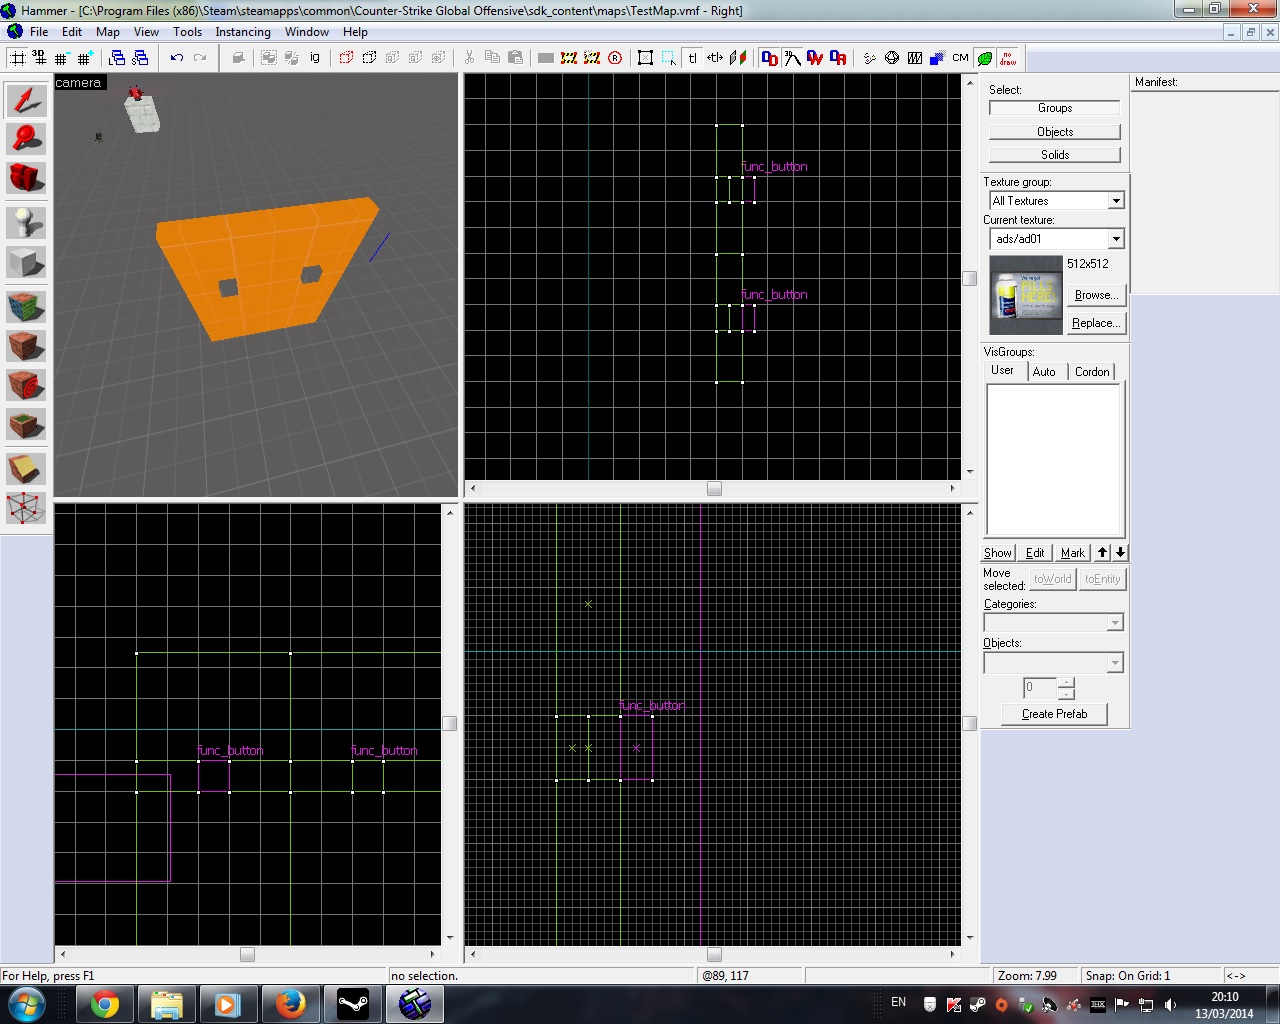
Now that you have the texture, launch CS:GO hammer editor. Select the browse button located on right side of the editor to open the ‘Textures’ window. Filter for name of the texture (mine is RedSteel)

ingame

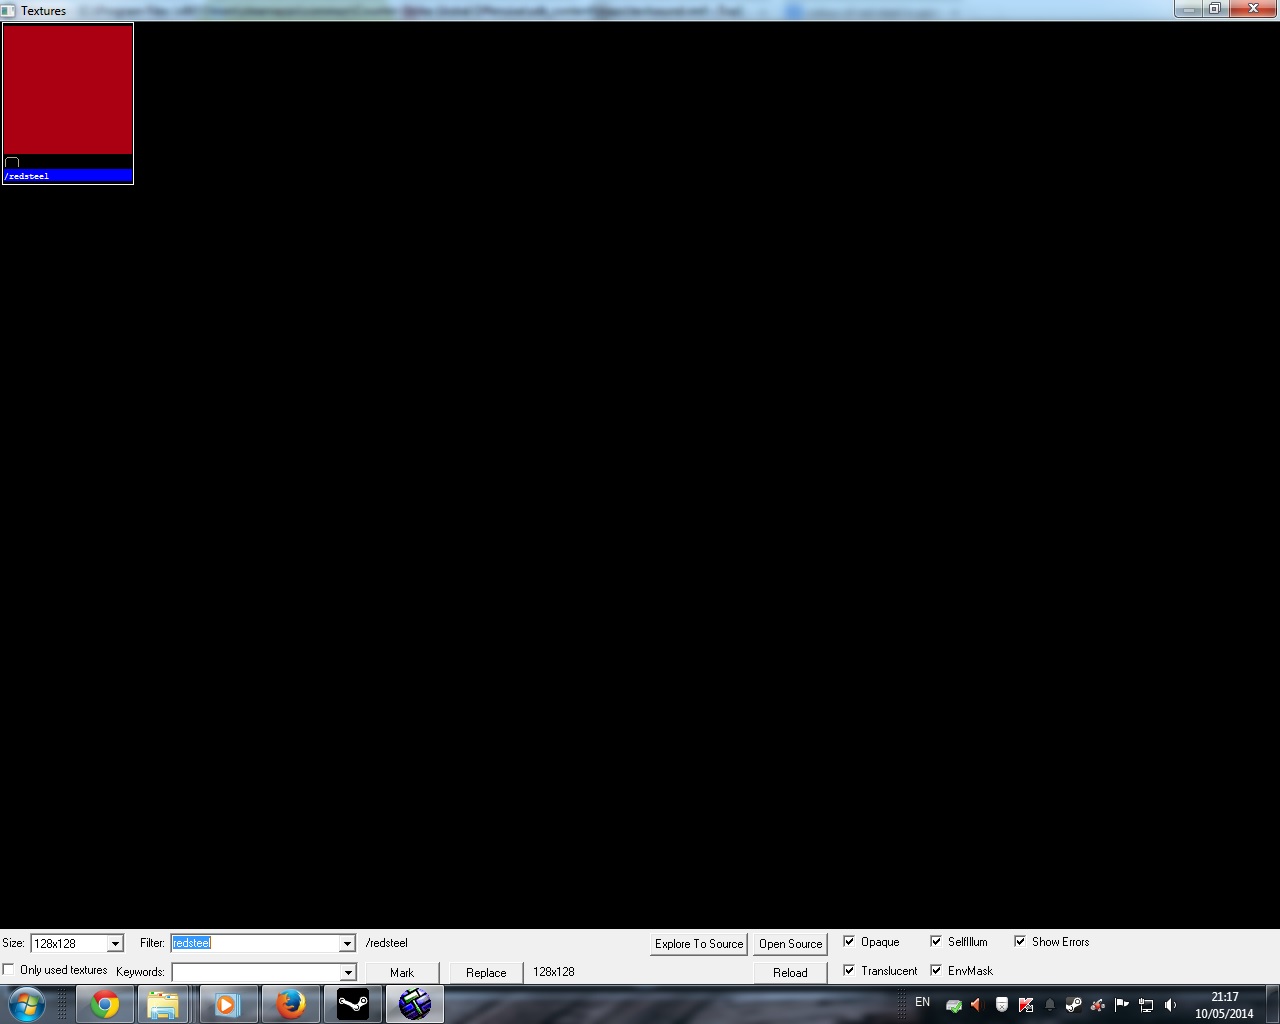
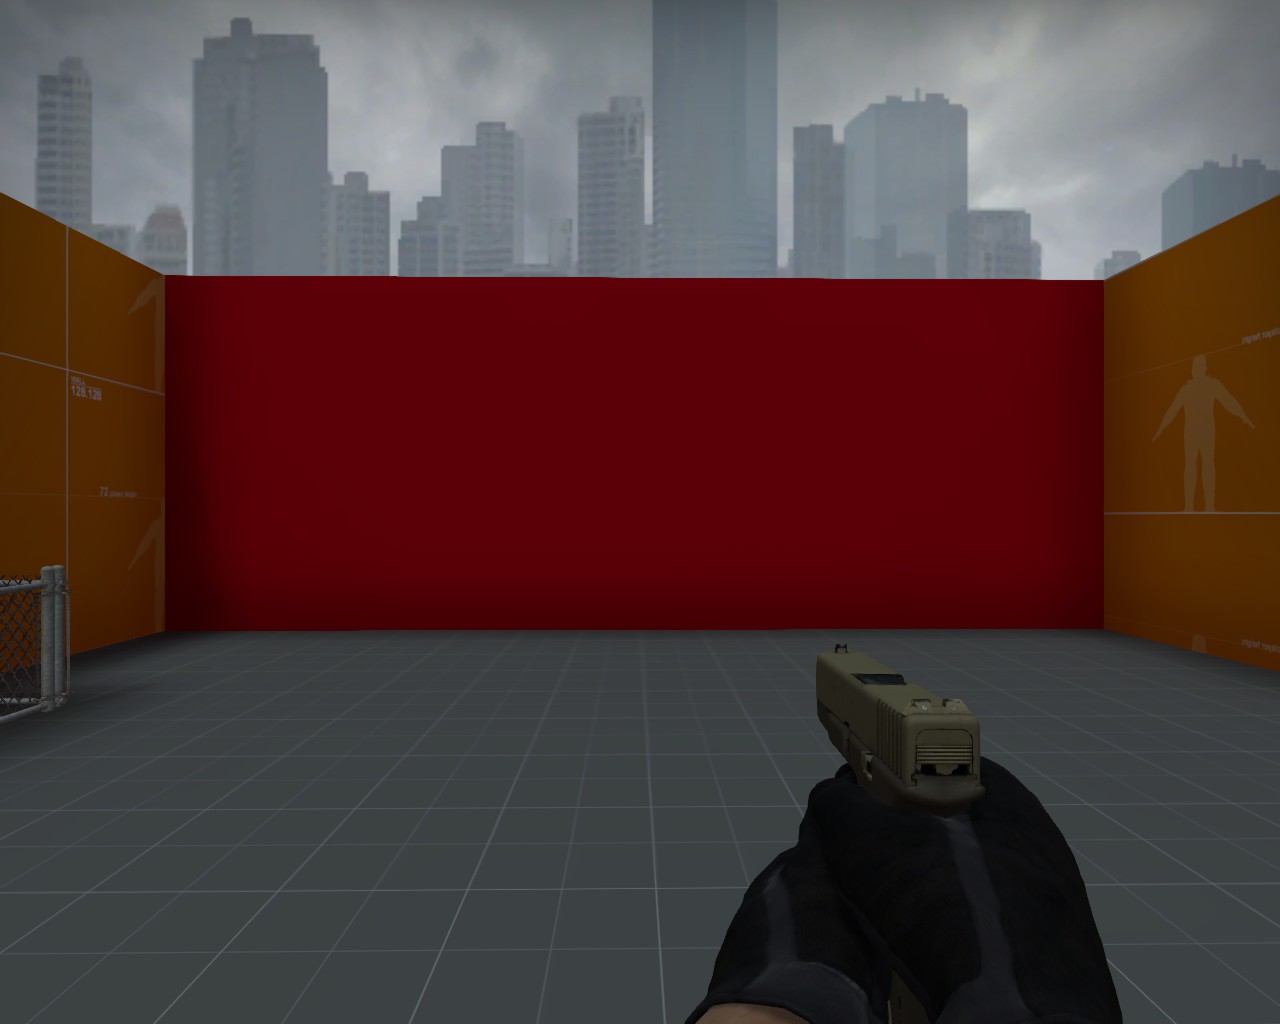
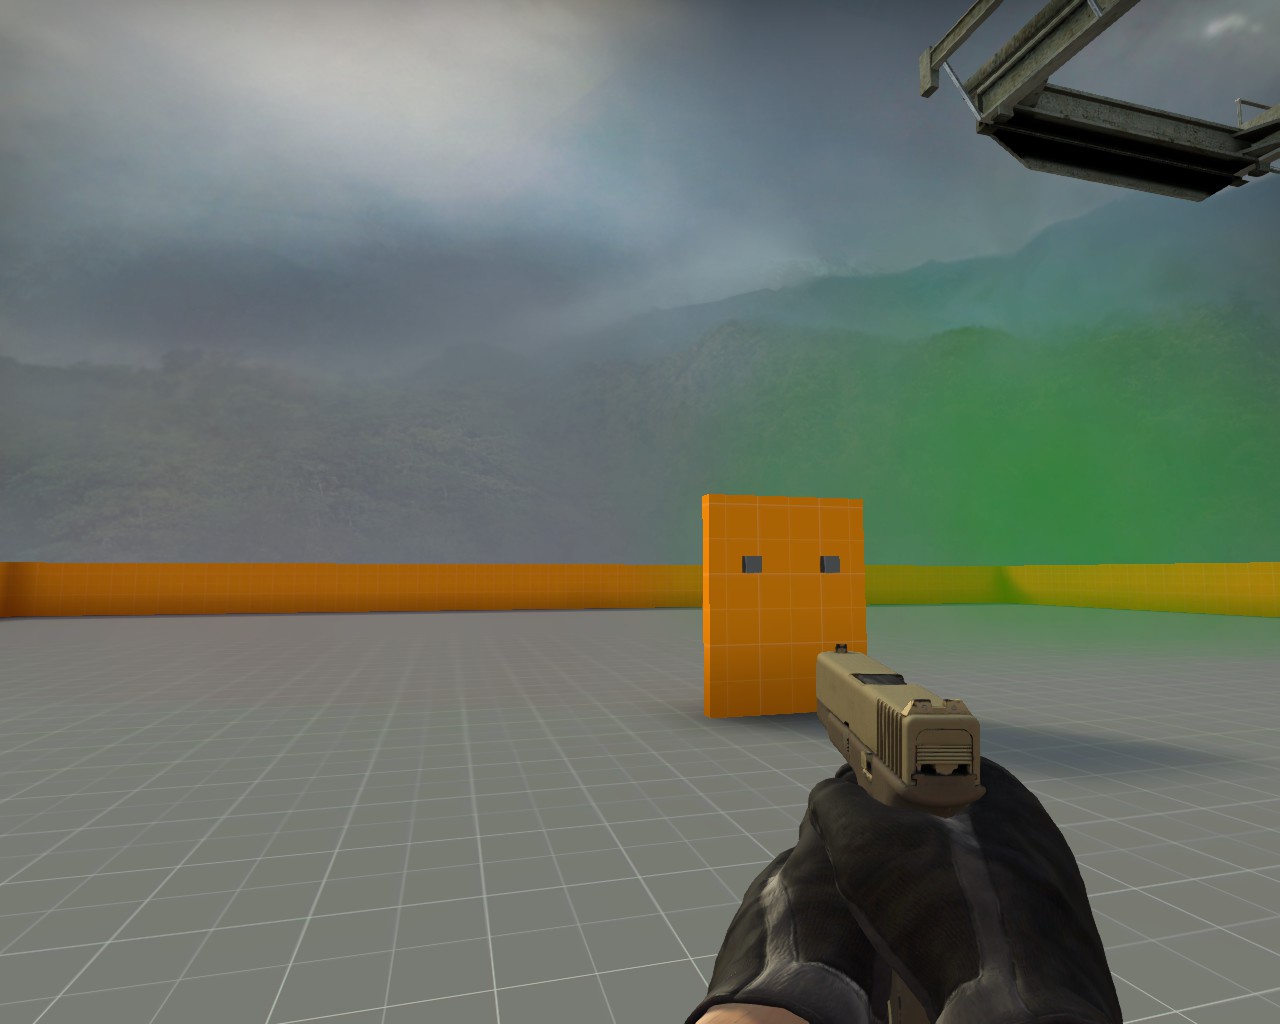
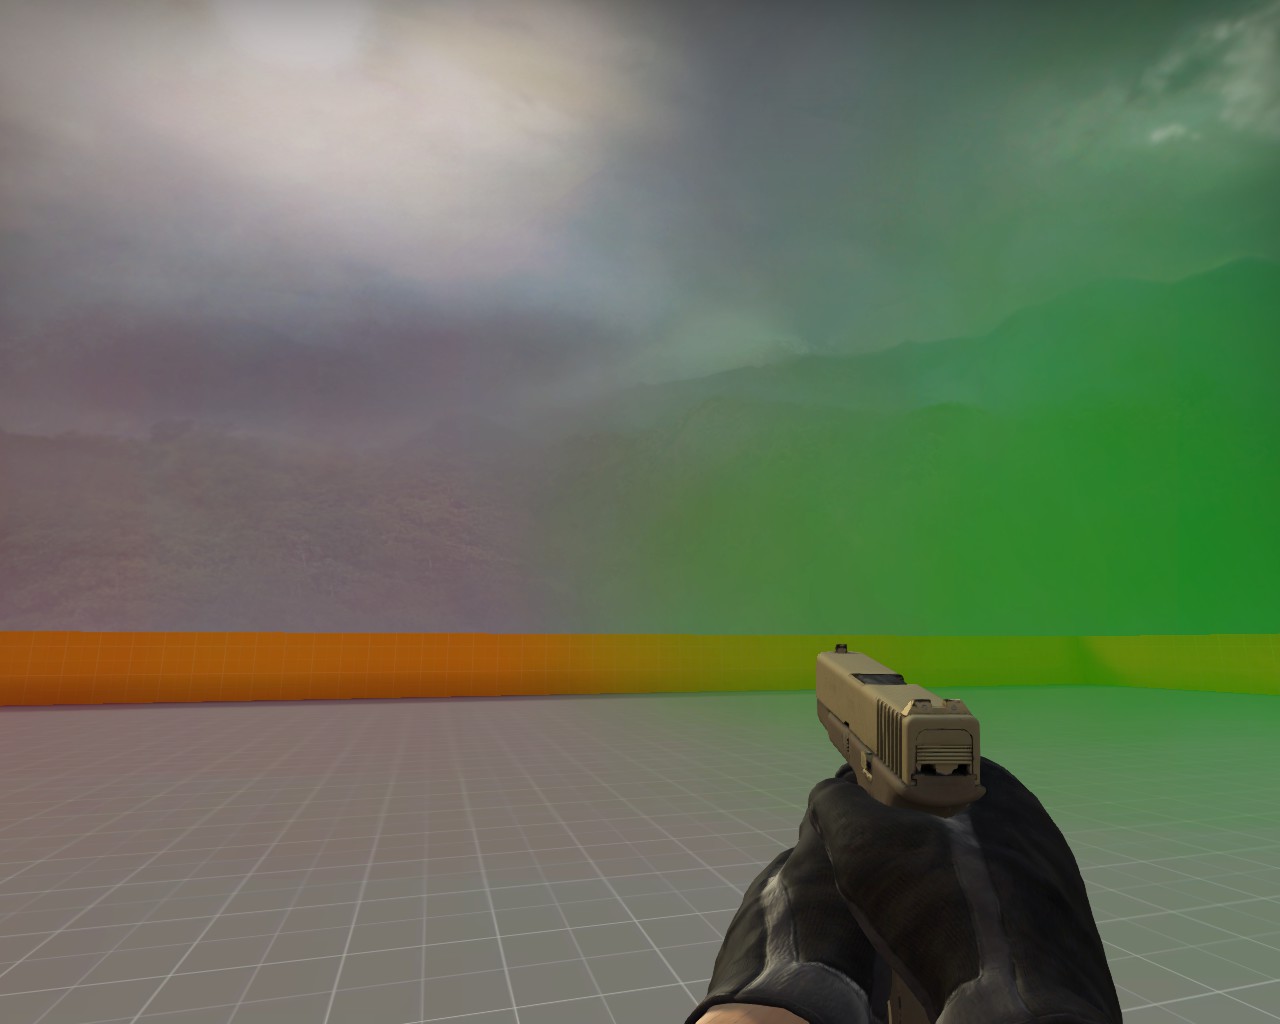
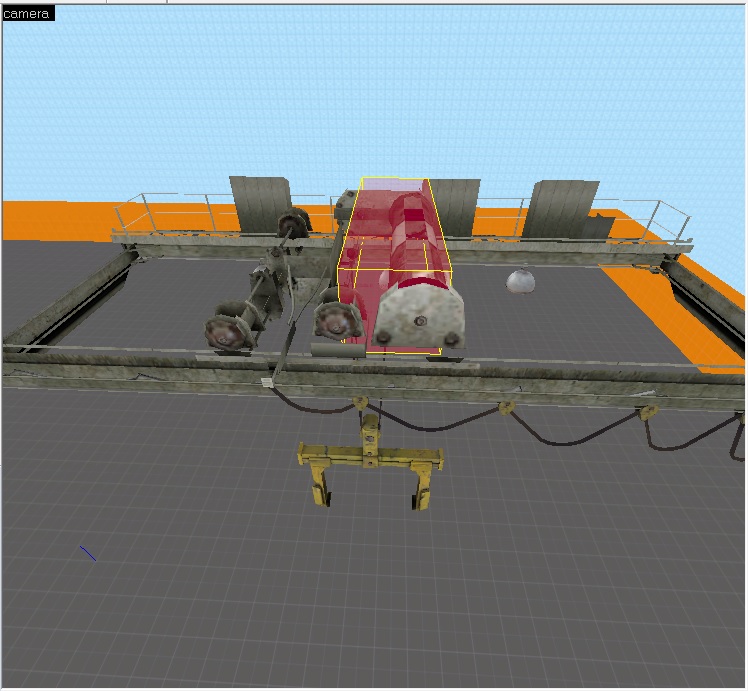
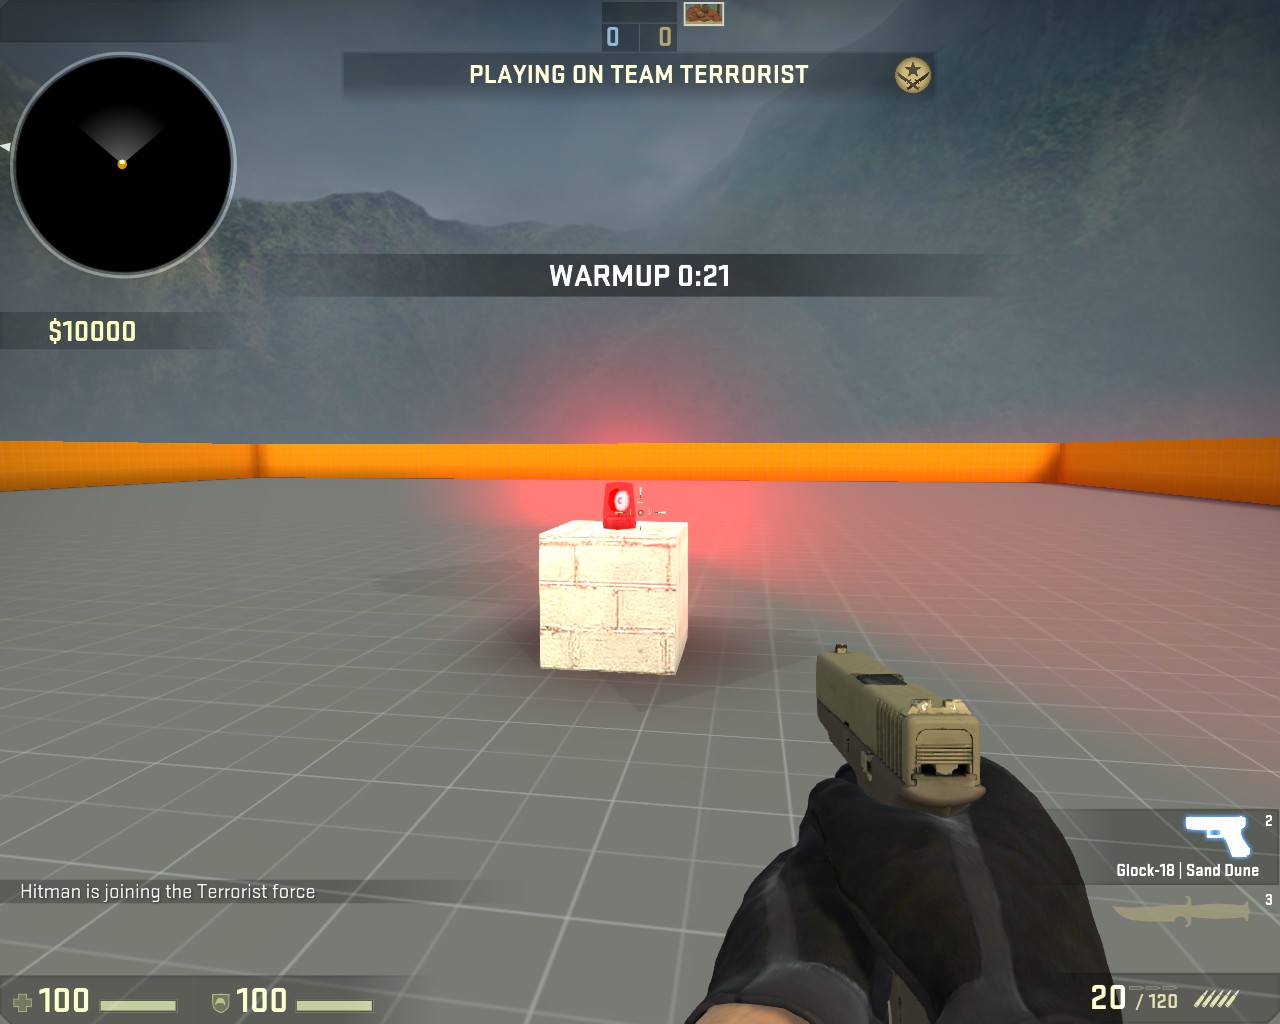
Apply it on to an block and then Compile and Run the game to test it in-game.

2014-05-10_00001

In this post I will show you how to add and config sound entities to your Counter-Strike: Global Offensive level.

In CS:GO there are several sound entities;

  • env_soundscape.
  • env_soundscape_proxy.
  • env_soundscape_trigger.
  • ambient_generic.

But will focus on ambient_generic and env_soundscape (env_soundscape_proxy and env_soundscape_trigger are similar to env_soundscape).

sound

(env_soundscape – ambient_genetic)

env_soundscape – Is a point entity available in all Source games. It changes the active soundscape of players, and defines where positioned sounds within it play from.

env_soundscape_proxy – It is an env_soundscape that inherits all of its properties except radius from another entity. This is useful when dealing with an area that doesn’t have clear line of sight, and so requires several identical soundscape entities.

soundscape

OK let me show how to add one. Select the entity tool and search in the objects dropdownlist for ‘env_soundscape’, then left click in the level to add the entity. Double click the entity to open its properties;

soundscapprop

  • Start Disabled – Stay dormant until activated.
  • Radius – Defines the entity’s sphere of influence. Players must also be able to see the entity for it to trigger. -1 means infinite range.
  • Soundscape – The name of the soundscape to play.
  • Sound Position 0-7 – Entities which define the location from which any positioned sounds play. Must be entities that the client knows about (e.g info_target or anything visible).

Soundscape List for CS:S – Click Here (This is CS:Source soundscape not all will work with CS:GO)

Samples of the CS:GO Soundscape – Click Here (Video is provided by 3klicksphilip)

So set the soundscape property value to the soundscape that you want (I’ll use aztec.outdoors)

soundscapeset

Next you would want to increase the radius of which where you are able to hear the soundscape. You can do this by increase Radius value or expand the circle in one of the viewports.

soundscapesetradius

To make it work you will need to leave Start Disabled property at No. I am disabling it because, I want it to be triggered by a button.

Compile and run the map for hear soundscape in-game.


ambient_generic – Is a point entity available in all Source games. It plays a sound, either once or on loop, and either from a location in the world or globally. Use it to play and control a soundscript sound, a raw .wav sample or a scripted sentence.

ambient

Select the entity tool and search in the objects dropdownlist for ‘ambient_generic’, then left click in the level to add the entity. Double click the entity to open its properties;

ambientprop

  • Sound Name – Name of the Game Sound entry for the sound to play. Also supports direct .wav file names.
  • Volume – Sound volume, expressed as a range from 0 to 10, where 10 is the loudest.
  • Pitch – Pitch, where 1 is low, 100 is normal, and 255 is high.
  • Start Pitch – Start Pitch.
  • Max Audible Distance – Maximum distance at which this sound is audible.
  • Dynamic Presets – Various DSP (Digital Signal Processor) effects that can be applied.
  • LFO type – Type of Low Frequency Oscillation to employ. Options are; Off (default), Square Wave (alternate between low and high), Triangle Wave (sharper transitions), Random.
  • LFO rate – How frequently the LFO effect repeats itself.
  • LFO mod pitch – Affects the sound pitch. Higher numbers change the pitch more.
  • LFO mod volume – Affects the volume of the sound, causing it to “pulse”.

Flag options;

  • Play everywhere – Sound always plays from all speakers at its configured volume.
  • Start Silent – The map will start without this sound playing. Enabled by default.
  • Is Not Looped – Changes how the ambient_generic handles stopping and starting playback.

When working with ambient_generic all you really need to do is select Sound Name.You do that by selecting the Sound Name properties and click the browse button. Sound Resources Browser window will pop up.

ambientsoundname

Make sure that ‘Game Sounds’ is selected as the Game Type. Then filter for the sound that you want to add. If you are unsure about the Sound file, select it and click preview to play the sound file (If it doesn’t play then its corrupted or doesn’t work). If you have found the sound file that you wanted, then selected and press ‘Ok’ or double click the file.

You can leave everything on default. I’ll give it a name so then I could call it when a user presses a button, or call it when triggered by event.

compile and run the map to hear sound in-game.


Video


In this post I will teach you how to add and config a few other entities, such as;

  • env_shooter, which I’ll use to create a dispenser that gives out drinks.
  • env_shake, to create an earthquake effect.
  • env_steam, to add detail to damaged pipes.
  • chicken, add a few chickens into the level, why not?

entities

R-L

env_shooter – is a point entity available in all Source games. It shoots giblets out of its origin. These gibs can be either models or sprites.

env_shake – is a point entity available in all Source games. It controls screen shakes on players. With this entity you can simulate tremors (earthquakes, blast waves, passing vehicles).

env_steam – is a point entity available in all Source games. It is used to create a jet of steam or heat wave distortion.

chicken – Chicken is a chicken.


env_shooter (Dispenser)

shootericon

To do this I will need; env_shooter and prop (preferred prop_dynamic).

Select the Entity Tool and use Objects dropdownlist to find prop_dynamic then left click in the level to add it. Double click the entity to open its properties. Open the Model Browser by selecting World Model and clicking browse. Select the vending machine model (vending_machine.mdl), then hit OK. Hit apply and close when finished (Reposition if necessary)

Select the Entity Tools again and filter this time for env_shooter and add it to your level. Reposition it to where the you want the giblets to come out from the bottom of the vending machine.

shooter

Double click the env_shooter entity to open its properties. You will notice it has a lot of properties that you can set. Here a few of the important ones;

env_shooter


  • Gib Direction – The direction the gibs will fly.
  • Gib Angle – The orientation of the spawned gibs.
  • Gib Life – Time in seconds for gibs to live +/- 5%.
  • Gib Velocity – Speed of the fired gibs.
  • Number of Gibs – Total number of gibs to shoot each time it’s activated.
  • Model – Thing to shoot out. Can be a .mdl or a .vmt.
  • Simulate – Type of Model it will shoot it.
  • Delay Between Shots – Delay (in seconds) between shooting each gib. If 0, all gibs shoot at once.

For the purpose of this post, I will set a few changes to these properties to allow bottles to shoot out from the vending machine.

  • Start with the model. Select the Model property and hit browse button to open the Model Browser. Filter for bottle and select water bottle (water_bottle.mdl). Hit OK to apply it.
  • Set the Simulate to be physics, as we want the bottle to have physics properties.
  • Set number of gibs to be one, as we want one bottle at a time.
  • Leave the Delay Between Shot at zero and Gib Velocity at 200 (The larger the value the further and fast it will go out).
  • For Gib life is optional, as it relays on how long you want bottle to say in the level. I’m going with 100.
  • Gib Angle 90 0 0. It will shoot the bottle side ways.
  • Use  Top view port to config Gib Direction.

shooter1


Lastly click the Flag tab and enable the repeatable setting to allow you use the env_shooter more than once.

Now that you have done that you will need to add a button to the machine to shoot out the bottle. I am sure you able to do that by now (hint create a brush with the invisible texture and tie it to button entity. In the Output tab set the Via this input to shoot).

Compile and run the map to test it.


env_shake (earthquake)

earth

Select the Entity Tools and Filter for env_Shake in the Objects dropdownlist. Left click to add to the level, then double click the entity to open its properties.

earth2

Properties are;

  • Amplitude – The amount of noise in the screen shake. Should be a range between 0 and 16.
  • Effect Radius – The radius around this entity in which to affect players.
  • Duration – The length of time in which to shake the player’s screens.
  • Frequency – The frequency used to apply the screen shake. Should be a value between 0 and 255, where 0.1 = jerk, and 255.0 = rumble.

Flags setting are;

  • GlobalShake – Shaking occurs throughout the entire map.
  • In Air – Objects in the air are affected by the shaking.
  • Physics – Shake physical objects to create realistic feel.
  • Ropes –  Shakes ropes.
  • Don’t shake view – Doesn’t shake players view.


This entity requires some testing to figure out the right property values. I have create two, each connected to a button to test the difference in-game

1- Default Amplitude and Frequency, but increase duration to notice the affect.

shake2

2- Increased the Amplitude 10, set the frequency to 180 with duration 10.

shake1

Attach these to button so that they can be triggered when used activates them. Compile and run the game.


env_steam (pipes)

steamicon

Select the Entity Tools and search for env_steam in the objects dropdownlist. Left click in the level to add it. Double click the Entity to display its properties.

steamprop

Properties are;

  • Initial State – Option if starts enabled.
  • Particle Type – Steam effect type. There are two; normal or heatwave. Steam effect type,
  • Spread Speed -The amount of random spread in the particle’s velocity after they spawn.
  • Speed – The default speed at which the particles move after they spawn.
  • Particle Start Size – The initial size of the particles after they spawn.
  • Particle end Size – The size of the particles at the point at which they are removed.
  • Emission Rate – The rate of particle emission. i.e. particles per second.
  • Color – Steam colour, only used if emissive flag is set.
  • Length of stream jet – The length of the jet determines the lifetime of each particle.
  • Translucency – Render alpha value.
  • Pitch Yaw Roll (X Y Z) – This entity’s orientation in the world.

Flag settings;

  • Emissive – Provides colour to the steam.

Will create three env_steam entities with different properties;

1- Initial state on, pointing up with Emissive setting selected to give white colour.

steam1

2- Initial state on, pointing up, particle speed 40, end size 30, 30 emission rate and coloured green (need to make sure Emissive is selected to activate the colour)

steam2

3- Initial state on, point up, but type is set to heatwave (It will not show steam but a heatwave)

steam3

Compile and run the game to view them in-game.


Chickens (bwak)

chicken1

This entity is very simple to add. Select the Entity Tools and add an entity to your level. Double click the entity to open its properties.  Type in the Class dropdownlist Chicken and hit enter. The entity should change to look like the image above. This entity has no properties.

chicken

Nothing else to do. Compile and run the map.


Video 

In this post I will teach you how to add and configure four env entities;

env_fire – is a point entity available in all Source games. It handles a single flame at its origin. The flame causes heat ‘damage’ to other env_fire entities around it, and will eventually ignite non-flaming env_fire entities nearby causing fire to spread.

env_explosion – is a point entity available in all Source games. It creates and exposition  at its origin. To create an invisible explication that moves objects that moves objects within a radius use env_phyexplosion.

env_spark – is a point entity available in all Source games. It is used to create sparks at its origin.

env_laser –  is a point entity available in all Source games. It creates a laser beam between itself and a given target.

env

Select the Entity tools and filter in the objects dropdownlist in the bottom right side of the hammer editor for the appropriate env entity. Left click in the world to add that entity. After you have added the entity double click the it to open it.

1- env_fire

env2

fire1

Properties are;

  • Duration – Amount of time the fire will burn.
  • Size – Height (in world units) of the flame.
  • Attack – Amount of time the fire takes to grow to full strength.
  • Type – Either Natural or Plasma. Natural is a general all purpose flame, like wood fire.
  • Damage Scale – Multiplier of the burn damage done by the flame.
  • Ignition Point – Amount of heat ‘damage’ to take before this flame should ignite.

As well as these properties you are able to set certain settings, they can be found under the Flag tab;

  • Infinite Duration – This will set the fire to have infinite duration (it will ignore the duration property).
  • Smokeless – It will remove smoke from the entity.
  • Start On – (Self explanatory) start on, no need for ignition points.
  • Start Full – Start with the fire
  • Don’t drop – (Not sure, never used it).
  • No glow – The fire entity will not give a glow (I recommend adding light entity for the glow).
  • Delete when out – When the fire is extinguished it will delete itself.
  • Visible from above –

Here are different fire types with different property values (R-L).

1- Standard fire, default properties with settings Start On and Start Full.

2- Lower flame, lowered the size of the flame to 10. Same settings (Start on and Start Full).

3- Standard fire. Attack set to 30 because the flame start on but not full. (Unable to notice, due its a picture)

2014-04-10_00001

If you plan on adding the fire entity on top of a prop,  then you need to make sure that prop is prop_static not prop_dynamic or prop_physics. (Left prop_dynamic and right prop_static).

2014-04-10_00002


2- env_explosion

env3

explosion

properties are;

  •  Magnitude – The amount of damage done by the explosion.
  • Radius Override – If specified, the radius in which the explosion damages entities, If unspecified, the radius will be based on the magnitude.
  • Fireball Sprite – Sprite of the fireball.
  • Render Mode – Render mode of the fireball. 0 Normal, 4 Solid, 5 Additive.
  • Ignored Entity – Do not harm or affect the named entity.

Setting for the entity can be found under the flag tab (all are self explanatory);

explosion1

This entity is better used when it is connected to a button or even to trigger the explosion.

3- env_spark

env4

spark

properties are;

  • Pitch Yaw Roll (X Y Z) – This entity’s orientation in the world.
  • Max Delay – The longest delay between sparks (in seconds).
  • Magnitude – The size of the sparks.
  • Spark Trail Length – Length of the spark trails.

Settings;

  •  Start On – Start when map loads
  • Glow – It gives off glow when there are sparks.
  • Silent – Sparks make no sound when on.
  • Directional – Spark go off in a certain direction provided by value in the Pitch Yaw Roll.

Here a few examples (R-L);

1- Default properties and with the Start on setting selected.

2- 5 second Max delay, with Glow and Start on setting selected.

3- 5 second Max delay, Large Magnitude,  medium Spark Trail Length and with Start on setting selected.

2014-04-10_00007


4- env_laser

This entity is different to the other env entities in this post, as it requires a target. You have two options when coming to add a target, you can use entity info_target or use a normal prop to be a target. I’ll show both cases.

laser

laser1

properties are;

  • Target of Laser -Name of entity, or entities, to strike at. The target is randomly chosen if there are multiple entities matching the given name.
  • Brightness - Beam brightness.
  • Beam Color  Beam color.
  • Width of Beam - The width of the laser beam, in pixels.
  • Amount of noise – The amount of noise in the beam. 0 is a perfectly straight beam.
  • Sprite Name - The material used to draw the laser beam.
  • End Sprite - If specified, this sprite will be drawn at the end of the laser beam.
  • Texture Scroll Rate – Rate at which the beam texture should scroll along the beam.
  • Starting Frame - The frame to start the beam texture on.
  • Damage / second - How much damage this laser does. per second. to things it hits.
  • Dissolve Type - Dissolve effect type.

Setting that env_spark has;

  • Start On – Start on when map is loaded.
  • Start Sparks – Sparks appear where the laser starts.
  • End Sparks –  Sparks appear where the laser ends (target).
  • Decal End – Where the laser ends decal is added on the surface of the object.

Examples;

1- Prop Target

So will start by making a prop as the target. You will need to add prop_dynamic, its the only prop entity that allows you to give it a name (prop_dynamic_override will do too).  Once you have selected the appropriate model and given the prop entity a name, add an env_laser entity and open its properties.

Here we will set a few different settings. First set the Target of Laser to the name of the prop. Also set the sprite of the laser. to do that select Sprite Name property and press the browse button to open the textures window. Unfortunately CS:GO SDK only has three types of sprites that fit with env_laser;

  • physbeam
  • laserbeam
  • purplelaser

Filter for one of them and double click it to select it. Leave all the other property values set to default. Lastly under flag tab select the Start On setting.

2- Using info_Target

Select the Entity Tool and use object dropdownlist to find ‘info_target’. Left click in the level to add it (reposition it if necessary). Open the info_target properties and give it a name. Now that is done go back to the env_laser and set the Target of Laser to be the info_target name. Leave all the other env_laser properties to default. Again go under the flag tab and select the Start on setting

Make sure in both cases you have Start On setting selected. It can be found under the Flag tab. If you dont have it select then it wont start (Unless you plan on using a trigger to activate it)

In-game

2014-04-10_00008


 Video:

I this post I will teach you how to use two make two things; Dust by using func_dustcloud and Fog by using env_fog_controller.

  • func_dustcloud is a brush entity available in all Source games. It spawns randomly-sized dust particles within its volume. Use the trigger texture with this entity.
  • env_fog_controller is a point entity available in all Source games. It determines the density of aerial fog for the whole map.

func_dushtcloud

To create a dustcloud we first need to select the correct texture, open up the Textures window by selecting the browse button, In Textures use the filter by adding ‘trigger’. Double click the trigger texture to select it.

buy1


Now that you have the trigger texture, we move on to creating the a brush. Select the Block Tools and create a template in the area you want the dustcloud to cover. When you have the right click the template and select Create Object or hit Enter.

dustcloud

Resize or reposition the brush if required.

We now need to tie the brush to an entity (func_dustcloud), so select the brush, right click the brush and select Tie to Entity or hit Ctrl + T. The Object properties will show, under the Class dropdownlist search for ‘func_dustcloud’ select it and hit apply.

dustcloud2

Properties you need to take into account are;

  • Name – The name that other entities refer to this entity by.
  • Particle Color – Color of the particles.
  • Start Disable – If set to Yes it will not then create particles when spawned.
  • Pericles per second – Number of particles to spawn, per second.
  • Maximum Particle Speed – Maximum speed that the particles can move after spawning.
  • Maximum Particle Lifetime – Maximum number of second until each particle dies.
  • Minimum Particle Lifetime – Minimum number of seconds until each particle dies.
  • Maximum Visible Distance – Maximum distance at which particles are visible. They fade to translucent at this distance.
  • Frozen – When set, this entity spawns the number of particles in SpawnRate immediately, and then goes inactive.
  • Maximum Particle Size – Maximum size the particles can be
  • Minimum Particle Size – Minimum size the particles can be

There is a lot to take in but the most important are;

  • Name (if you plan to start the cloud to be triggered by a button or event).
  •  Particle Color (To set the color depending on the enviroment).
  • Start Disabled (set to yes so that then you can enable it when there is an event).
  • Maximum Visible Distance (Make sure it is visible from a far).

So in the case of the his post I will duplicate the entity brush and set different properties. Properties I will change are the visible distance, colour and particle per second number.

Brush 1 – Green colour, greater particles per second, with maximum distance of 1024

dustcloud3

Brush 2 – Red, with 40 particles per second and maximum visible distance of 500

dustcloud4

Compile and run the game to see them in-game.

 2014-04-02_00002

2014-04-02_00001


env_fog_controller

To add fog into your level, select the Entity Tool and use Objects dropdownlist to search for env_fog_controller. Left click in the world to add the entity. Its position is not necessary (well it has to be inside the skybox).

fog

Double click the entity to open the object properties.

fog2


The properties that you need to take into account are;

  • Fog Enable – Enable fog on map load (This is important if you want fog in your level to show).
  • Primary Fog Color – Primary Fog Colour.
  • Secondary Fog Color – Secondary Fog Colour. (Primary will do, but you can set this if you want to use Fog Blend).
  • Fog Blend – This will enable blending between Primary fog colour and secondary fog colour, based on the direction the player is looking.
  • Fog Start – How far from the viewer the fog should start.
  • Fog End – How far from the viewer the scene should be completely fogged.

To set these setting you are required to go back and forth between the editor and game to get the perfect result. If you want a head start, then here are a few hints;

1 – Make sure that you have Fog Enable set to Yes.

2 – Selecting the fog Colour – You don’t want to colour to be left at default colour (which is white) or it will look like this in-game;

2014-04-03_00001

So what you want to do is open the light_environment properties and take the colour value from the brightness and set it as the fog Primary fog Colour.

fog4


Do the same with a Ambient and the Secondary Fog Colour. Make sure to set Fog Blend before you Compile and Run the game.

2014-04-03_00003


If you think the colours are still slightly briht, then go to the fog colour properties (primary and secondary) and make the colours slightly darker by hitting ‘Pick color‘ and using scroll on the right hand side.

fog5


3 –  Setting the Fog Start and End – Lowering the Fog Start value will bring the fog closer, while lowering the Fog End will bring the fog density closer.

With Low Fog Start

2014-04-03_00004

With Low Fog End

2014-04-03_00005


Setting these properties is dependent on the size of the map. If you have a big map then increase the Fog End value to around 3000 and leave the Fog Start at 500. While if the map is open (a lot of grass, only few buildings) then good idea to lower the Fog Start value to 100, and leave the Fog End at 2000.

Play about with the values to get the best result.

In this post I will cover how to use func_TankTrain. Func_TankTrain is a brush entity available in all Source games. It is a moving train that follows a path of path_track entities.

For this tutorial you will require few things;

  • A block, which we will tie to entity func_TankTrain
  • Couple of path_track (To set the path that block will take through the world)
  • A prop_dynamic (for the purpose of this post)

Lets start by creating the path that our tank will take. To do this select the Entity Tools and in the Object dropdownlist search for ‘path_track’. Once you have found it, left click in the world to add one. Double-click the the path entity to open its properties, and give it a name e.g. path1.

path

Now duplicate it be select the first path and drag it to second location. Before letting go of the right-mouse button, hold down the shift button and then let go. You will notice that a line connecting the the two paths. Also the second path_track will be given a name.

path2

Now we move on to creating the block with func_tanktrain. I will add prop that I would want to move. Add prop_dynamic entity of your choosing, I will go with the pi_apc.mdl model.

path3

If you using an prop entity, then you will be required to create a brush that will have the invisible texture applied to it. To do this click the Browse button on the right side of the editor to open the Textures window. Filter for invisible and double click the texture to select it.

invi

Now click the Block Tool and create a template of the brush. Make sure the template covers the prop, then hit enter to create the brush. Then select the brush and hit Ctrl+T to open the object properties. Under Class dropdownlist search for ‘func_tanktrain’, select it and hit apply.

path4

Now we move on to setting the properties for the func_tanktrain. This will require some in-game testing for figure out the correct settings. Also you may need to turn the brush and the prop so that It will be facing the same direction as the path.

If you want to rotate the prop and brush, select both of them, then right click and click on Transform. A Transformation window will  open up. To Rotate make sure the Mode is set to Rotate and insert a number to the Z textbox to rotate the objects.

Double Click the brush to open its properties. Here are few properties to take into account;

  • First Stop Target – The name of the first path_track in the train’s path. The train will spawn at this path_track. It will also turn to face direction indicated by the ‘Orientation Type’ setting.
  • Max Speed – The maximum speed that this train can move. Any speeds applied to this train, such as by path_tracks or SetSpeed inputs, will be clipped to this maximum value.
  • Initial Speed – The speed that the train will move at after it spawns, 0 = stopped.
  • Change Velocity – The method through which this train changes its velocity as it moves along the path.
  • Damage on Crush – The amount of damage this train does to entities that block it.
  • Health – The amount of health the entity has. Which can be drained when players do damage to it.
  • Start/Stop/Move Sound – A sound played when the train stops/starts/moving.
  • Height Above the Track – The height above the track that this train moves.

For the purpose of this post I will only set the important properties. Lets start with Height above the Track, to measure this use the side or the front viewport and create a template from the floor brush to the centre of the tanktrain brush.

path5

Set the Height above the Track to equal the value in the red rectangle (If the prop is not touching the ground or is within the ground, then you will need to come back and add or take away from this value).

We’ll leave Max speed to its default value of 100 and set the Initial speed to 50 (It’s important to set the initial speed or the tanktrain will just jump between the track points). Will set the Change velcitiy to Ease in/ease out, so the looks like starts slow, speeds up and then as it gets closer to the second path_track slows down.

Now we will set the First Stop Target (starting point of the tracktrain), which will be the first path_track entity (path1).

Will also set the damage crush to be 100 with the flag setting of it being unstoppable by player, this can be found under the Flags tab.

path6

To parent the prop to the brush, you will need to give the brush a name (e.g. apc) and in the prop properties under parent set it to equal that name.

Compile and run the level.


Complex Path

If you plan to make a route that goes through a road that that has corners then I recommend using more than one path_track at the corner to make the animation of the turn smoother. The more you add the smoother it will get Like so;

path7

In this post I will teach you how to create a button. For this I will use the crane that I made in the previous post, to test the button call to a function within an entity. To make a button you will need to make a brush and tie it to an entity. So I decided to create a control panel by slicing up a brush into smaller brushes and leave space for buttons;

button

Panel highlighted by the green rectangle and the red rectangles highlights the brushes that I will transform into buttons.

Select one of the brushes that you want to turn into a button and hit Crtl+T to open up the object properties. Under Class dropdownlist search for ‘func_button’, select it and hit apply.

button2

Properties of interest are:

  •  Move Direction (Pitch X Y Z) – The direction the button will move when an action is performed by a user.
  • Sounds & Unlocked Sound – Sound it plays when an action is performed by a user.
  • Speed – The speed the button will move. In which how many inches it will cover.
  • Delay Before Reset – The amount of time it takes before the button moves back to its original position.

Under the Flags Tab:

  • Don’t move – Will stop the button from moving when an action is performed by a user.
  • Touch Activates – Touch activates the button.
  • Damage Activates – Damage activates the button.
  • Use Activates – Use action activates the button.
  • Toggle – Toggle button between pressed and un-pressed.
  • Starts Locked – Locked unable to be used by users.
  • Sparks – Sets sparks when an action is performed.

For case of this post I will show you how to make the button move in when pressed, at a standard speed, with and action sound and with the button resetting in three seconds.

Move Direction is the direction the button will move when an action is performed by a user. So from what we have above, we will want the button to move into the panel. Select the button and open its properties. Under the Move Direction property you will notice that default value is set to zero which is to the right. So using the top viewport we would want the button to move into the panel, so you will need to move the handle to the left.

button3

Red arrow is the default move direction, green arrow is the direction that we want to move the handle to. Purple rectangle is inform you to use the top viewport for finding out the correct direction.

We also want the button to rest to its original position three seconds after it has been pressed. As the property is already set to three, no changes need to be done. If you want it to take longer then add a higher number. If you never want it to reset then set the value to -1.

Setting the sound. This will require some in-game testing to actually hear the sounds play when a player uses the button. They are all different, but in the case of this post I’m just going to go with ‘Buzz’.

I will leave the speed at 5. The higher the value the faster it will move.

button4

Finally duplicate the button and put it at the second opening on the panel brush. Make sure to position them just outside the panel brush as you will want the buttons to move in when pressed.

button5

Adding a call to a function

Now that the buttons are done, we will want to to add a call to a function. The the call that we will add is to allow the user to move the crane that taught how to make in the previous post. Select left button and open its properties, then select the Outputs tab.

button6

Here is where I’ll teach you how to add a call to a function.

We start by selecting the add button to add a function. Select the function that we just added, and in the My output named dropdownlist filter for ‘OnPressed’. Which sets what will cause the call of the function (So when the button is pressed it will call the function). In the Targets entity names dropdownlist filter for the crane name, which was ‘crane1’ (This sets the entity you want to add function to, so in this case want to move the crane). In the Via this input dropdownlist filter for ‘Open’ (set the type of function you want to the entity to do, in this case open moves the crane to the move direction value that we set for it).

Additional features are;

With parameter override of – This is used if you want to override a certain property value in the entity.

After a delay in seconds of – This allows you to set a delay period before calling the function.

button7

Now that you have done that, you will want add a call to the right button to set the crane back. To do this, the fast way is just to select the call and hit the copy button. Then open up the Outputs tab in the right button and then hit paste. The only change you will then need to do is to change the Via this input value from ‘Open’ to ‘Close’.

Compile and run the game to test it out.

In this post will teach you how to move objects using func_movelinear. This can be used to create many things like; cranes, lifts, moving props that do not have an animation and other things. If you want to use a vehicle prop, then I recommend you check if the prop has animation first. If not then use func_tanktrain. Which I will cover later on.

For purpose of the this demonstration, I will be using func_movelinear to create a crane. For this you will need;

  • A prop_dynamic prop
  • A Brush with the invisible Texture applied.

Lets start with by selecting the Entity Tools and Filter for prop_dynamic in the Objects dropdownlist. Left-Click in the world to add the entity. Double click the entity to open the properties, and under World Model select the Browse button to open the Model Browser.

In the model browser filter for ‘Crane’ and select the first one by double clicking on it (de_nuke\craneb.mdl). Once you have it selected, hit Apply.

crane

Now we move on to creating a the brush. First select the invisible texture by clicking the Browse button at the right side of the hammer editor to open the Textures window. Use ‘invisible’ in the filter and double click the invisible texture.

invi

Now select the Block Tool and create a template the covers top part of the crane prop. Then hit enter to create brush.  Like so;

crane2

You can resize the brush if you like to only cover small part of the crane. Just make sure that brush is at the centre of the prop. In the end it is up to you, either way you will require to parent the crane to the brush.

crane3

Select the brush and hit Crtl+T to open the object properties because we will want to tie to an entity func_movelinear to the brush. Filter the class dropdownlist for func_movelinear and hit apply

movelinear

Give the brush entity a name (e.g. crane1). The properties that you will need to take into account are;

  • Speed – Speed the brush moves.
  • Move Distance – Distance the you want to brush to move.
  • Move Direction – The direction you want the brush to move.

Speed can be set easily, lower the value the slower it will move.

To identify the direction you want the brush to move, you will need to select Move Direction field and use the top viewport to find the right direction. From the image below you will notice that default move direction is set to the right (identified by the red arrow) but we want the crane to move in upper direction (green).

direction

To do this select Move Direction and direct the hinge up, like so;

direction2

Distance is simple but it requires come calculation. Distance is amount grid squares the brush will have to travel. To calculate it, look at the top viewport and drag a template from where the brush starts to where you want the brush to end, like so;

distance

The value in the red rectangle is the distance.

Only thing left to do is open up the prop_dynamic properties and set its parent value to equal the brush name (crane1).

Here is test video from one of my maps, where I use metal blocks to activate the crane forward and backwards;

In this post will show you how to make Alarm Light, like this;

2014-02-01_00002

This post will also teach you how to create rotating brushes by tying the brush into an entity. For this you will require few things;

  1. Two prop_dynamic_overrides.
  2. Small brush (size of the prop) that has the Invisible texture applied to it.
  3. Two point_spotlights

Lets starts by adding the brush.  Select the browse button to open up the Textures window. Filter for ‘invisible’ and double click on it to select it. Create a small rectangle template (10 Width, 10 Length, 15 Height) and hit Enter to create the brush.

After yo have done that select the brush and hit Ctrl + T. This will open the object properties. Search for ‘func_rotating’ in the Class drop down list and hit Apply. In the properties there are few thing that will be required to change and set.

  • Set the name to alarm1
  • Set the Max Rotation Speed to 360
  • Under the Flag tab tick the Start On box
  • Under the Flag tab un-tick the Large Sound Radius

Now we move on to adding the props. Click the Entity Tool or Shift + E, and filter for prop_dynamic_override. Left-click in your level twice to add two. Select one of them and open up the properties. Under World Model select Browse to open the Model Browser. Filter for emergency and select emergency_lighta.mdl.

Select the other entity and do the same thing but instead select emergency_lightb.mdl. Also under the Skins tab and select the second skin (skin1). Then hit OK and then in properties set the parent to be the name of the rotating brush , and then hit apply.

p16

Make sure they are within each other;

ap1

Final part is the lighting. Select the Entity Tool or shift + E, and left click in your level. Open the entity properties and do these settings;

  • Set the parent to alarm1.
  • Change value of Spotlight length to 250.
  • Change the colour of the light to red.

ap2

Reposition the light close to entity and make it face the light represented in the entity. Also create a duplicate the light to face the other direction.

ap3

Compile and Run the game to view it in-game.

2014-02-01_00001

In this post I will teach you on how to add three different types of breakable windows which are provided in Counter Strike: Global Offensive hammer editor.

The types are:

  1. Breakable Brush Window.
  2. Breakable surf Brush Window (like in CS_Office).
  3. Prop Window.

Before starting, recommend creating space to add window. Like so;

w1

Prop Window

We will start with the easier one. This will simply require two entity types. A prop_physics_multiplayer and four phys_ballsocket.

Select the Entity Tool or Shift + E, then filter in through the dropdown list for prop_physics_multiplayer. Left click in your level to add. Now that you have added a prop_physics_multiplayer you will need to set the world model. Double click the entity to open the properties. Under World Model select Browse to open the Model Browser. Filter for ‘window’. Under the info tab search for model that allows physics properties. (I’m going with window_industrial.mdl). once you have found it select OK, then give the entity a name (e.g. wind1)  and hit Apply.

Resize the brushes to fit your window

w2

Now that you have window inserted, you will need to attach it to the brushes around it so it wont fall off. That is where you will need the four phys_ballsocket. Select the entity tool and filter for ‘phys_ballsocket’ and place one on the top, bottom, left and right side of window. Like so;

w3

Enter select them all and open their properties. You will need to set the Entity 1 to the name of the window (which I choose to be wind1)

w4

Compile and run the game to test it.

Breakable and Breakable_Surf Brush Window

For this we need to create a brush that will be in the centre and them tie that brush into an entity. So select the browse button from right side of the editor to open the Texture window. Filter for ‘nodraw’ and double click the texture to select it.

Now that you have the texture, select the Block Tool or Shift + B, and create a template within the other brushes (window). I recommend it to be 2-4 units thick and as high as you want. Then right click and select create object or hit Enter.

w5

Now you have two choices;

  • func_breakable
  • func_breakable_Surf, like the windows in CS_Office which break into small crystals.

You require to add glass to the brush (window), do this by opening the Face Edit Sheet by selecting the Toggle texture Application or Shift + A. Then select the browse button to open the Textures window. Filter for ‘glass’

There are one glass texture that will work with func_breakable_surf. There are also few textures that do not allow the brush to break. This image shows you which work with what, choose carefully;

w6

  • Red – Wont work with any breakable brush.
  • Green – Only works with func_breakable.
  • Purple – Works with func_breakable and func_breakable_surf.

func_breakable

Once you have selected the glass texture, apply it on both sides of the brush (window). I recommend setting the texture to fit or centre the brush. Then select the window brush and hit Crtl + T to open the object properties window. Search for func_breakable under the class drop down list, then hit apply.

func_breakable_Surf

While for func_breakable_surf, apply the glass texture to only one side of the brush (window) leaving the other side to have nodraw. Select the brush and hit Ctrl+T to open the object properties window. Search for func_breakable_surf under the class drop down list and then hit apply.

On one side of window brushes difference between breakable and breakable_surf.

w7


Compile and run the game to see the affects.

Extra Information

Here are few things you can change within the window brush properties;

  • Parent – To attach it moving objects
  • Material Type – Could change the material type to something else when it breaks.
  • Health/Strength – Is the amount of damage brush can take before it breaks.