In this post I will teach you how to create a button. For this I will use the crane that I made in the previous post, to test the button call to a function within an entity. To make a button you will need to make a brush and tie it to an entity. So I decided to create a control panel by slicing up a brush into smaller brushes and leave space for buttons;
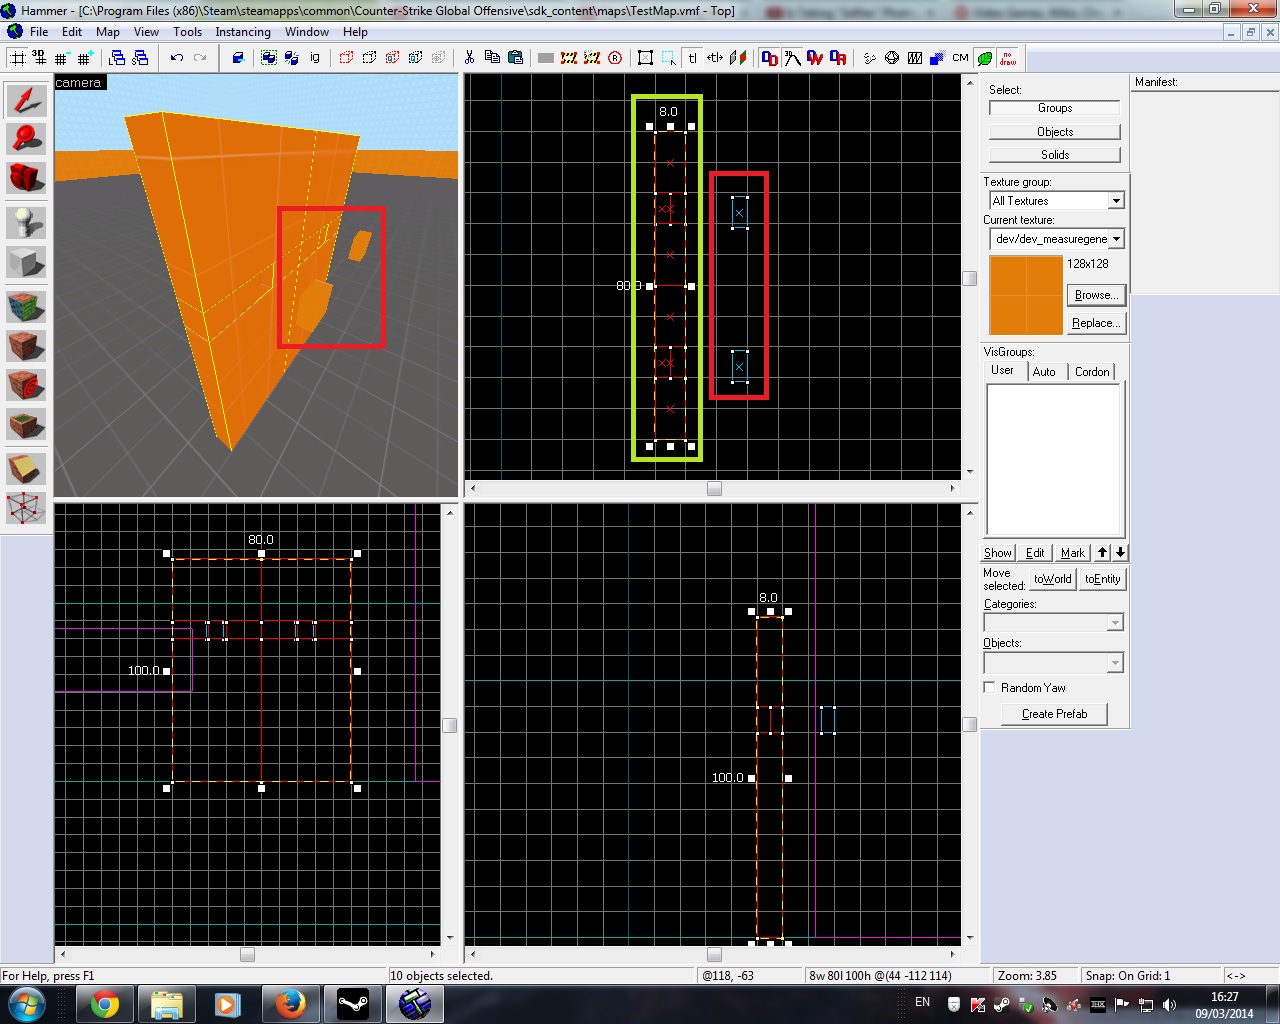
Panel highlighted by the green rectangle and the red rectangles highlights the brushes that I will transform into buttons.
Select one of the brushes that you want to turn into a button and hit Crtl+T to open up the object properties. Under Class dropdownlist search for ‘func_button’, select it and hit apply.

Properties of interest are:
- Move Direction (Pitch X Y Z) – The direction the button will move when an action is performed by a user.
- Sounds & Unlocked Sound – Sound it plays when an action is performed by a user.
- Speed – The speed the button will move. In which how many inches it will cover.
- Delay Before Reset – The amount of time it takes before the button moves back to its original position.
Under the Flags Tab:
- Don’t move – Will stop the button from moving when an action is performed by a user.
- Touch Activates – Touch activates the button.
- Damage Activates – Damage activates the button.
- Use Activates – Use action activates the button.
- Toggle – Toggle button between pressed and un-pressed.
- Starts Locked – Locked unable to be used by users.
- Sparks – Sets sparks when an action is performed.
For case of this post I will show you how to make the button move in when pressed, at a standard speed, with and action sound and with the button resetting in three seconds.
Move Direction is the direction the button will move when an action is performed by a user. So from what we have above, we will want the button to move into the panel. Select the button and open its properties. Under the Move Direction property you will notice that default value is set to zero which is to the right. So using the top viewport we would want the button to move into the panel, so you will need to move the handle to the left.
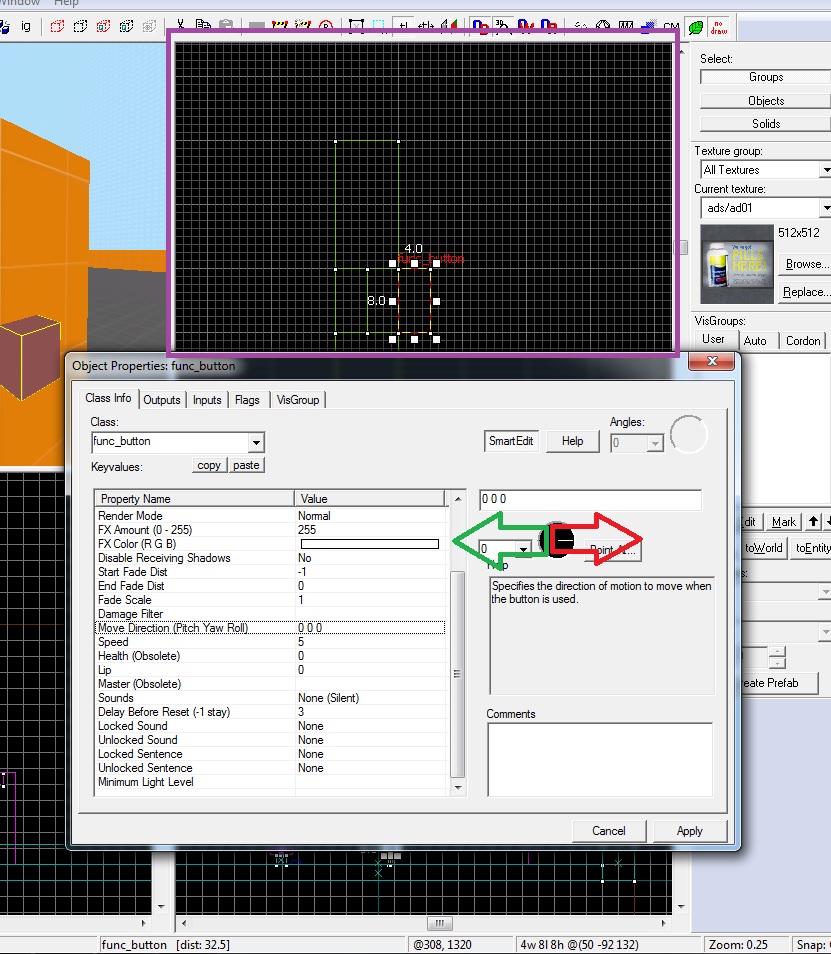
Red arrow is the default move direction, green arrow is the direction that we want to move the handle to. Purple rectangle is inform you to use the top viewport for finding out the correct direction.
We also want the button to rest to its original position three seconds after it has been pressed. As the property is already set to three, no changes need to be done. If you want it to take longer then add a higher number. If you never want it to reset then set the value to -1.
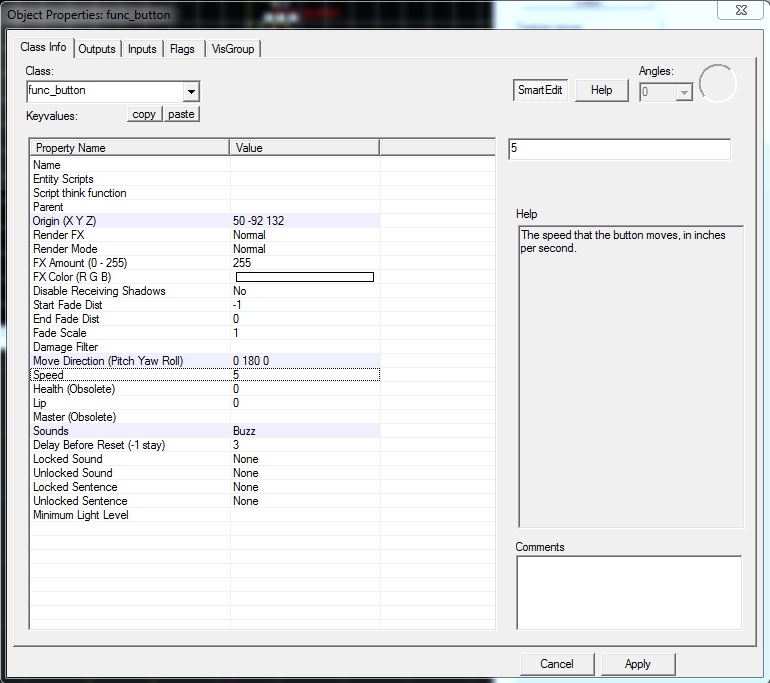
Setting the sound. This will require some in-game testing to actually hear the sounds play when a player uses the button. They are all different, but in the case of this post I’m just going to go with ‘Buzz’.
I will leave the speed at 5. The higher the value the faster it will move.
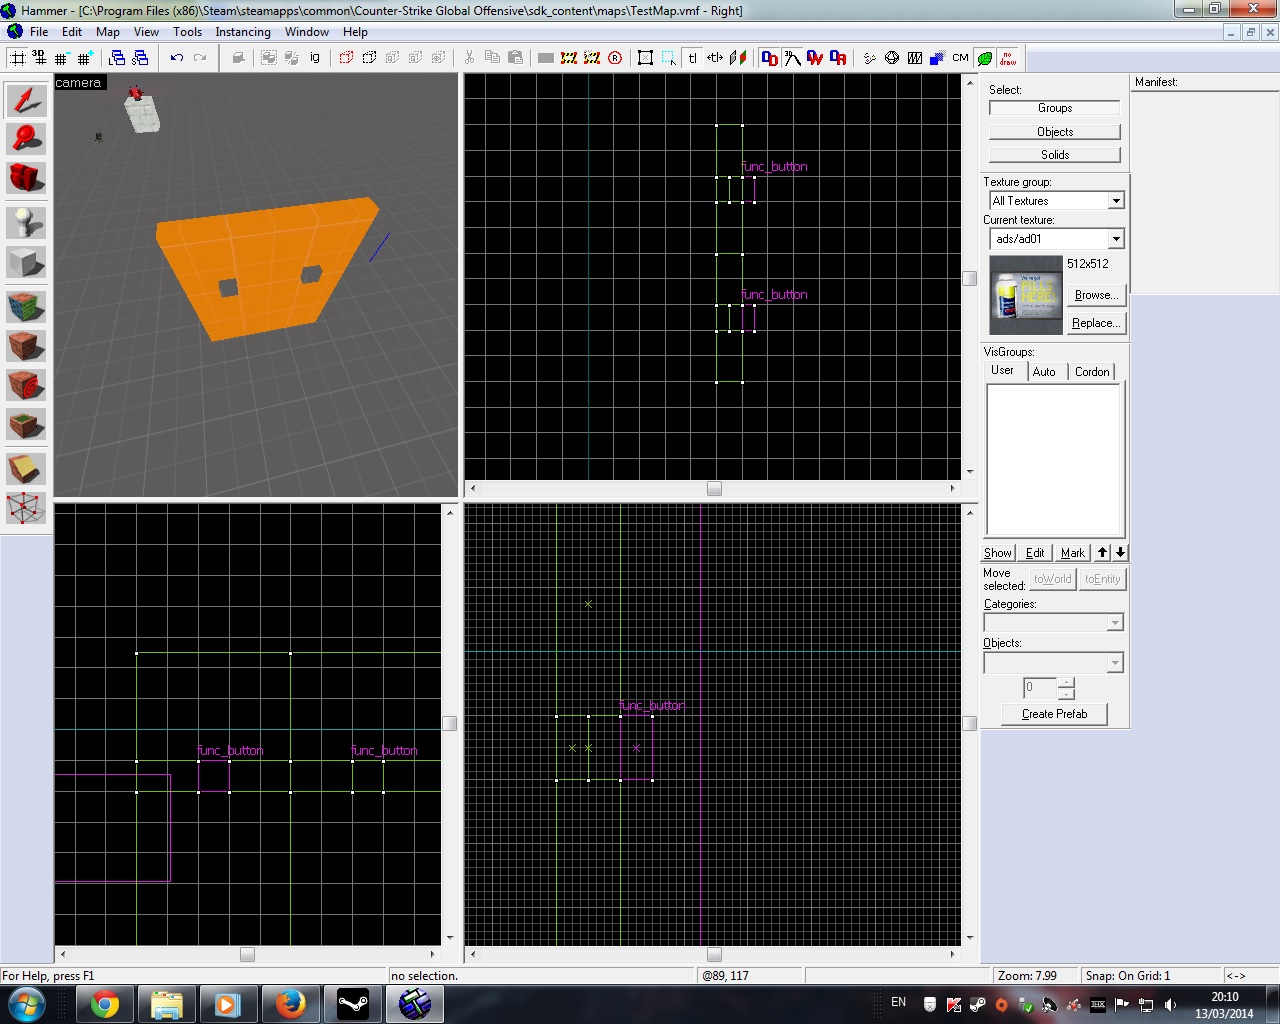
Finally duplicate the button and put it at the second opening on the panel brush. Make sure to position them just outside the panel brush as you will want the buttons to move in when pressed.
Adding a call to a function
Now that the buttons are done, we will want to to add a call to a function. The the call that we will add is to allow the user to move the crane that taught how to make in the previous post. Select left button and open its properties, then select the Outputs tab.
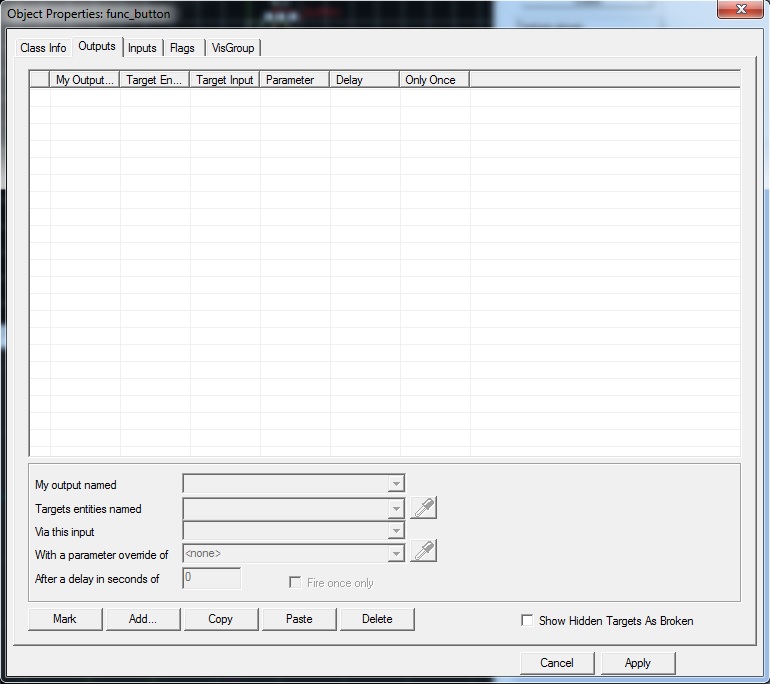
Here is where I’ll teach you how to add a call to a function.
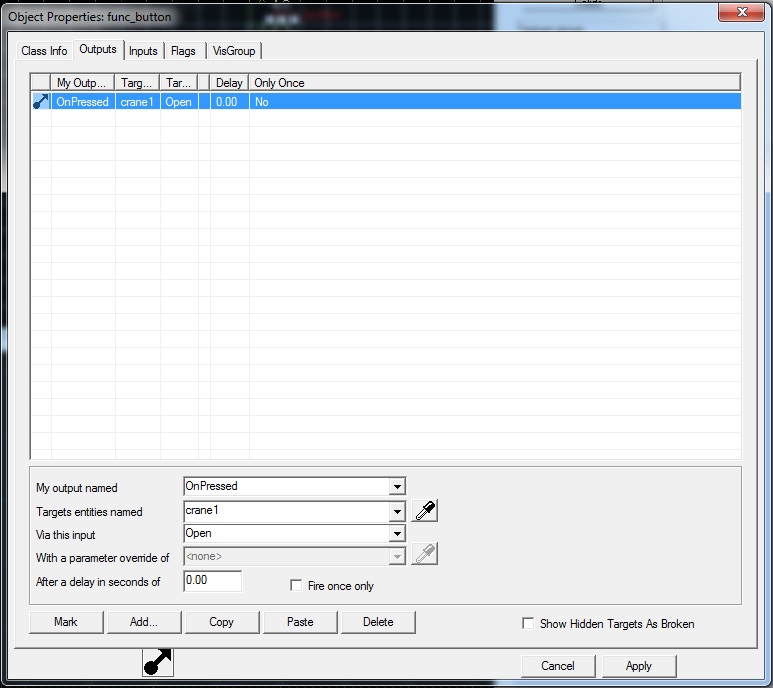
We start by selecting the add button to add a function. Select the function that we just added, and in the My output named dropdownlist filter for ‘OnPressed’. Which sets what will cause the call of the function (So when the button is pressed it will call the function). In the Targets entity names dropdownlist filter for the crane name, which was ‘crane1’ (This sets the entity you want to add function to, so in this case want to move the crane). In the Via this input dropdownlist filter for ‘Open’ (set the type of function you want to the entity to do, in this case open moves the crane to the move direction value that we set for it).
Additional features are;
With parameter override of – This is used if you want to override a certain property value in the entity.
After a delay in seconds of – This allows you to set a delay period before calling the function.
Now that you have done that, you will want add a call to the right button to set the crane back. To do this, the fast way is just to select the call and hit the copy button. Then open up the Outputs tab in the right button and then hit paste. The only change you will then need to do is to change the Via this input value from ‘Open’ to ‘Close’.
Compile and run the game to test it out.
