I originally planned to cover props & lights before I’d go into giving tutorials about adding a skybox, but I decided doing it now would be more helpful for you as it will make the map easier to navigate through.
Skyboxes are solutions intended to make maps look bigger than they are. They are typically used to display the sky, along with distant, unreachable areas and landscapes, such as distant mountains or buildings.
There are two types of skyboxes:
- 3D Skybox – It’s a surrounding area constructed by the level designer, outside the bounds of the gameplay area on the map. Players can never reach the 3D skybox.
- 2D Skybox – gives the effect of a giant cube surrounding the map used for applying textures in its interior faces. These textures usually consists of the ground meeting the sky in the horizon, clouds, and other distant details.
The 2D skybox for a level is set in the map properties which can be accessed through Map ->Map Properties.
Creating a Skybox
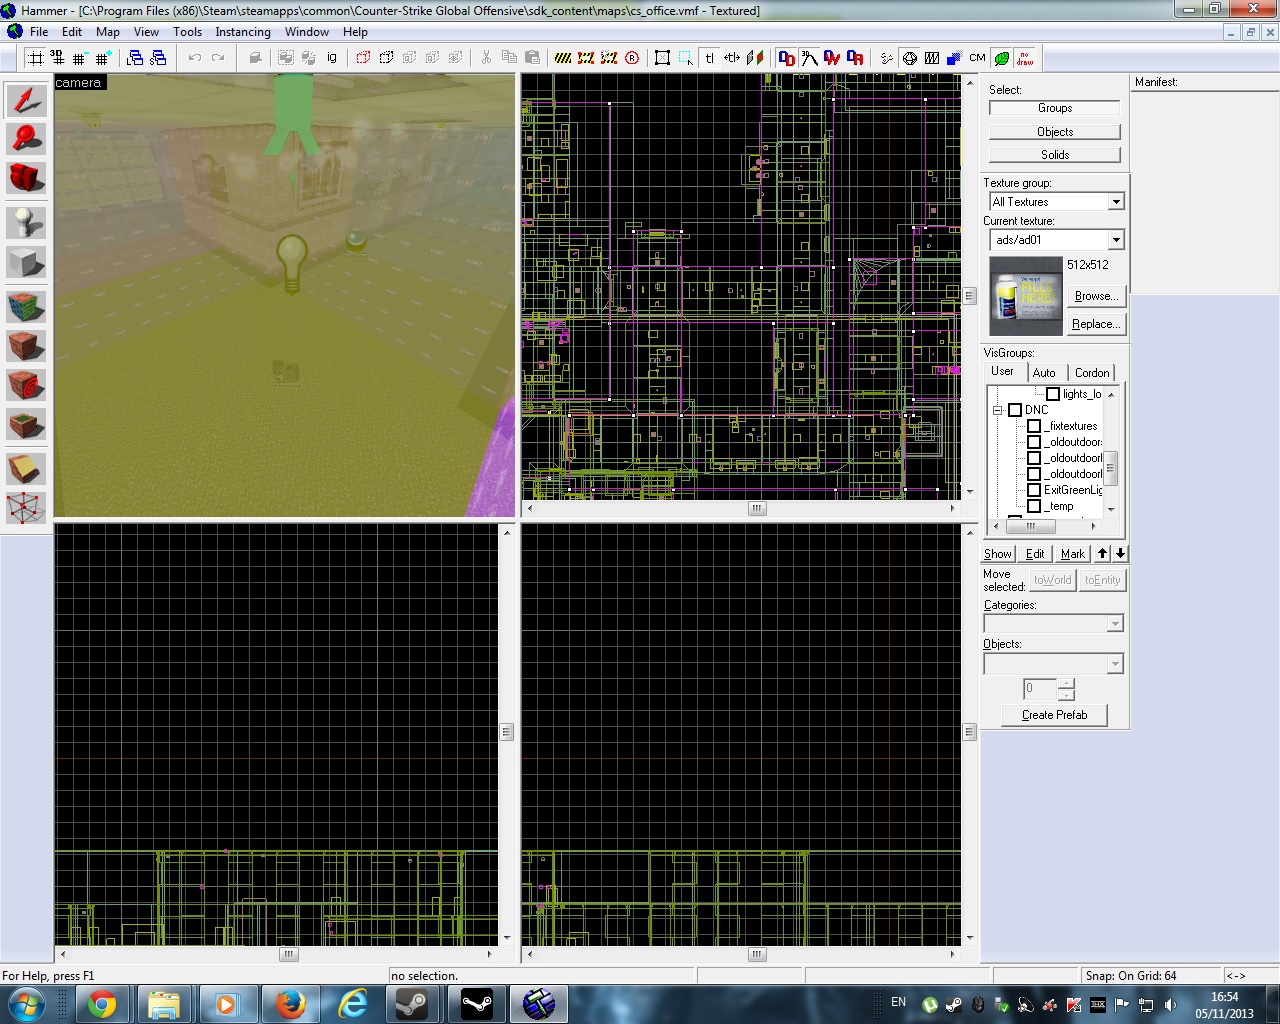
To start create skybox for you map first need to select the right texture. Select Browse to pop up the Textures window, then filter for ‘skybox’ or to be exact ‘tools/toolsskybox’. The selected texture should be like the one highlighted in red square box here:
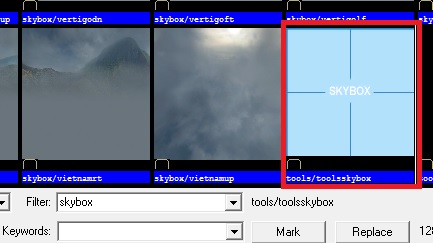
Double click it for selection. Then create a block template with your map inside it like so:

Then right click on the template and select Create Object.
We are not finished. Next need to make the skybox hallow, as the skybox brush has outer surfaces set to the texture. To make the brush hallow right click the brush and select Make Hollow.

(Top-left view is how brush looks from outside. Bottom-left view is from within the brush. Need to make the inside look like outside)
After selecting Make Hollow a dialog box will pop up with text “How thick do you want the walls? Use a negative to hollow outward” and value 32 in the textbox. To make it hollow change the value ’32’ to ‘-32’ and select OK and we are done.
Adding light_environment
When using Skybox it is also recommended to add light_environment entity. light_environment is an internal point entity available in all Source games. It casts parallel directional lighting from the toolsskybox (Skybox) texture to approximate the light cast from the Sun or Moon.
To add a light_environment entity first select the Entity Tool from left side of the hammer editor. It should look like this:

Then add ‘light_environment’ to bottom right side of the hammer editor under Objects:

And then left click somewhere in within the skybox to add the entity, in the middle of the skybox is the best place.

Setting Up Skybox and light_environment
Now we move on to setting up skybox in-game texture and setting the appropriate fields for light_environment depending on the skybox texture view.
list of skyboxes that are available for the Counter Strike: Global Offensive can be found here: https://developer.valvesoftware.com/wiki/Counter-Strike:_Global_Offensive_Sky_List
The link provides a preview of skybox texture and values to add to the light_environment fields. Things to take note of are :
- Texture name, examples office, jungle, Italy, embassy..
- Ideal Sun Angle
- Ideal Sun Pitch
- Ideal Brightness
- Ideal Ambience
The other values such as; Ideal Directional Angle, Ideal Directional Pitch and Ideal Directional Brightness are not relevant for light_environment. They are for light_directional which I will cover in another post.
Lets start setting up. For course of the tutorial I’ll be going with;
- Texture name : Vietnam
- Ideal Sun Angle : 0 33 0
- Ideal Sun Pitch : -36
- Ideal Brightness : 239 228 186 600
- Ideal Ambience : 199 224 233 350
First we set up the texture, go to map properties by clicking on Map->Map Properties. A pop up window with the heading “Object Properties” will show up:

Now change the value of the field “Skybox Texture Name” from ‘sky_dust’ to ‘vietnam’. Then click apply.
Skybox texture is now done. We move on to setting up the light_environment. Double click the entity or right click and select properties. This should show up:

Now we take the values that I posted above and add them to the appropriate fields. They are given in order so you can just add them in the same order from the top.
- Ideal Sun Angle – Pitch Yaw Angel : 0 33 0
- Ideal Sun Pitch – Pitch : -36
- Ideal Brightness – Brightness : 239 228 186 600
- Ideal Ambience – Ambient : 199 224 233 350
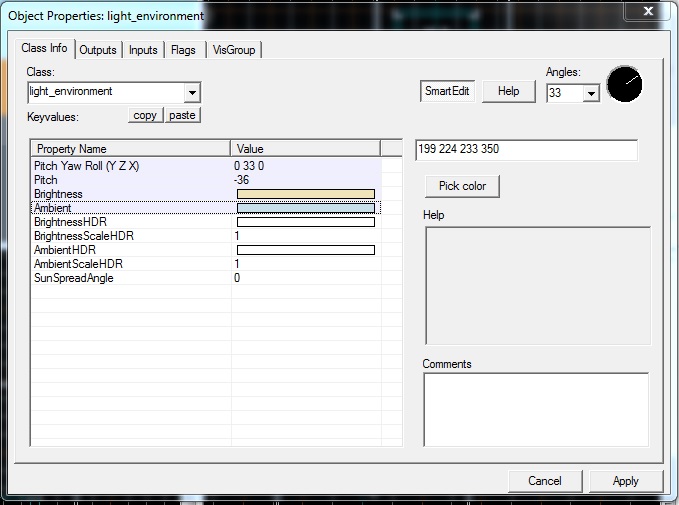
Click apply and you are done.
In-game Screenshot of Skybox and light_environment