Posts Tagged ‘textures’

In this post I will teach you how to turn an image file such as (.jpg, .bmp, .png) into a texture which then can be used in CS:GOs Hammer Editor.

Hammer editor takes texture files as .vtf and .vmt.

VTF (Valve Texture Format) – Is the proprietary texture format used by the Source engine. VTF files are generally referenced in a Material instead of being accessed directly, which allows re-use in different ways.

VMT (Valve Material Type) – Is a text file that defines a two-dimensional surface. It contains all of the information needed for Source to simulate the surface visually, aurally, and physically.

So it works as VTF the texture and VMT is the information that hammer needs to use that texture.

So for the purpose of this post you will need two things;

1- Converter (VTFEditor)

This will use to convert image into .vmt and .vft files. The converter that you will be required to use can be found Here (vtfedit125-11 Archive Version). If link does not work then download it from here.

Open the zip file and extract the files within it. (I use WinRAR to open zip files, if you don’t have it download it here: WinRAR). There will be the files within vtfedit125-11;

vtfeditor

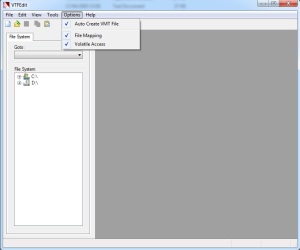
Double click the vtfedit application to open it and under optiosn tab make sure that ‘Auto Create VMT file’ is selected.

vtfeditor1

Now you have that done we move on to selecting image.


2- Image file (.jpg, .png ..etc)

Note: Source engine requires images dimensions to be of power of two (64×64, 128×128, 1024×1024, 128×512 256×1024 …etc).

I have created an image that is 128×128 (Right click the image and ‘Save image as..’ if you want it);

RedSteel


Converting Image File

Now that we have converter downloaded and have the image that we want to convert, we move on now to creating the vmt and vtf files.

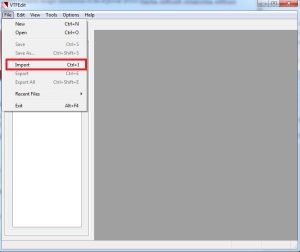
Open up vtfeditor, under File tab select Import

import

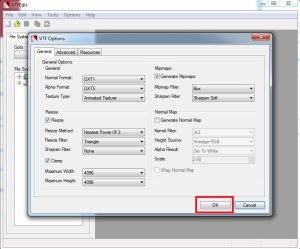
A Dialog box will open, here you will search for the image file that you want to import in the software. When you find it double click it to select it. After selecting it another a ‘VTF Options’ window will show, leave everything and just press OK.

vtfoptions

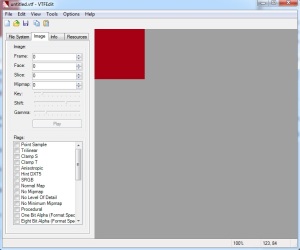
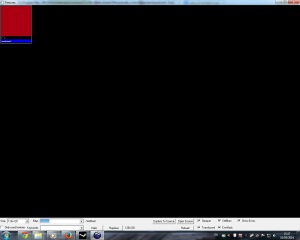
Now you will reach to this stage

vtfeditorred

All is left to do is name and save it at the appropriate file location. Hit file table and click ‘Save’ or ‘Save As’. A dialog box will show, give the file a name and save it in the game materials folder. Here;

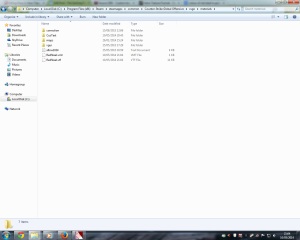
C:\Program Files (x86)\Steam\steamapps\common\Counter-Strike Global Offensive\csgo\materials

savesteel

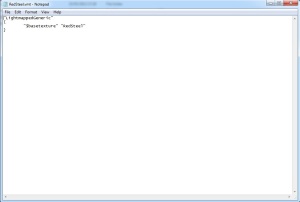
All you need to do now is check if the information in the .vmt file is correct. Select and right click the file, and click on ‘Open With’. (If you don’t see ‘Open With’ then double click it and select option ‘Select a program from a list of installed programs. Select Notepad and deselect ‘Always use the selected program to open this kind of file’) This is how vmt file will show;

vmt

If you plan to save them in a custom sub folder, then make sure you add sub folders name before the texture in vmt file. Like so “$basetexture” “CustomTexture/RedSteel”. If not then leave it as it is.

Note: Make sure that they both in the materials folder.


Testing the Texture in Editor and in game

Now that you have the texture, launch CS:GO hammer editor. Select the browse button located on right side of the editor to open the ‘Textures’ window. Filter for name of the texture (mine is RedSteel)

ingame

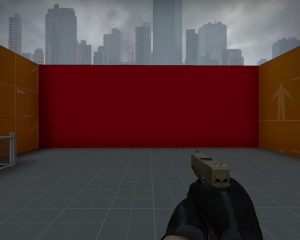
Apply it on to an block and then Compile and Run the game to test it in-game.
2014-05-10_00001

In this post I will teach you on how to add three different types of breakable windows which are provided in Counter Strike: Global Offensive hammer editor.

The types are:

  1. Breakable Brush Window.
  2. Breakable surf Brush Window (like in CS_Office).
  3. Prop Window.

Before starting, recommend creating space to add window. Like so;

w1

Prop Window

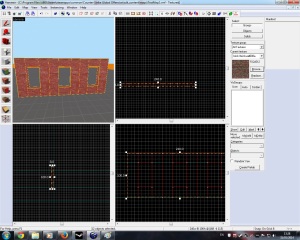
We will start with the easier one. This will simply require two entity types. A prop_physics_multiplayer and four phys_ballsocket.

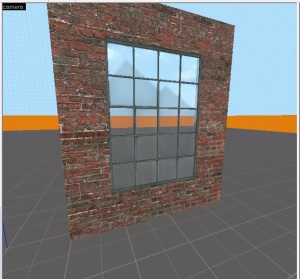
Select the Entity Tool or Shift + E, then filter in through the dropdown list for prop_physics_multiplayer. Left click in your level to add. Now that you have added a prop_physics_multiplayer you will need to set the world model. Double click the entity to open the properties. Under World Model select Browse to open the Model Browser. Filter for ‘window’. Under the info tab search for model that allows physics properties. (I’m going with window_industrial.mdl). once you have found it select OK, then give the entity a name (e.g. wind1)  and hit Apply.

Resize the brushes to fit your window

w2

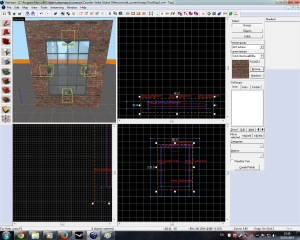
Now that you have window inserted, you will need to attach it to the brushes around it so it wont fall off. That is where you will need the four phys_ballsocket. Select the entity tool and filter for ‘phys_ballsocket’ and place one on the top, bottom, left and right side of window. Like so;

w3

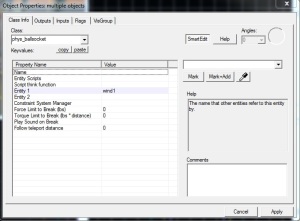
Enter select them all and open their properties. You will need to set the Entity 1 to the name of the window (which I choose to be wind1)

w4

Compile and run the game to test it.

Breakable and Breakable_Surf Brush Window

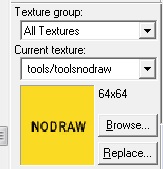
For this we need to create a brush that will be in the centre and them tie that brush into an entity. So select the browse button from right side of the editor to open the Texture window. Filter for ‘nodraw’ and double click the texture to select it.

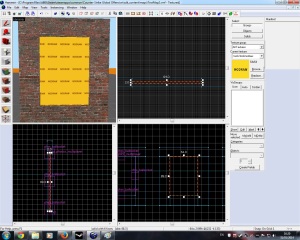
Now that you have the texture, select the Block Tool or Shift + B, and create a template within the other brushes (window). I recommend it to be 2-4 units thick and as high as you want. Then right click and select create object or hit Enter.

w5

Now you have two choices;

  • func_breakable
  • func_breakable_Surf, like the windows in CS_Office which break into small crystals.

You require to add glass to the brush (window), do this by opening the Face Edit Sheet by selecting the Toggle texture Application or Shift + A. Then select the browse button to open the Textures window. Filter for ‘glass’

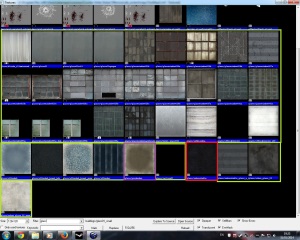
There are one glass texture that will work with func_breakable_surf. There are also few textures that do not allow the brush to break. This image shows you which work with what, choose carefully;

w6

  • Red – Wont work with any breakable brush.
  • Green – Only works with func_breakable.
  • Purple – Works with func_breakable and func_breakable_surf.

func_breakable

Once you have selected the glass texture, apply it on both sides of the brush (window). I recommend setting the texture to fit or centre the brush. Then select the window brush and hit Crtl + T to open the object properties window. Search for func_breakable under the class drop down list, then hit apply.

func_breakable_Surf

While for func_breakable_surf, apply the glass texture to only one side of the brush (window) leaving the other side to have nodraw. Select the brush and hit Ctrl+T to open the object properties window. Search for func_breakable_surf under the class drop down list and then hit apply.

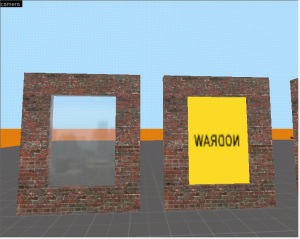
On one side of window brushes difference between breakable and breakable_surf.

w7


Compile and run the game to see the affects.

Extra Information

Here are few things you can change within the window brush properties;

  • Parent – To attach it moving objects
  • Material Type – Could change the material type to something else when it breaks.
  • Health/Strength – Is the amount of damage brush can take before it breaks.

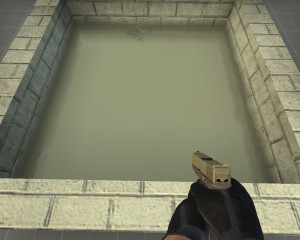
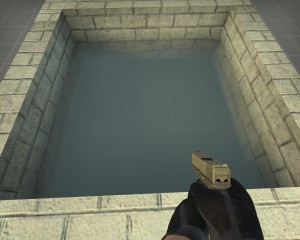
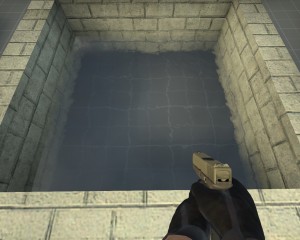
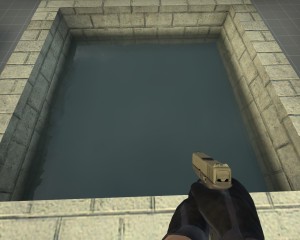
Today’s post will be a very simple and short one, in which I will teach you how to add water into your CS:GO level. I will also post images of the different water textures provided with the hammer editor.

Water

Lets Start first be creating a brush that will have the No Draw texture applied to it. So select the browse button front the right side of the hammer editor to open up the Textures window. Filter for ‘nodraw’ and double click the texture to select it. You should have this;

nodraw

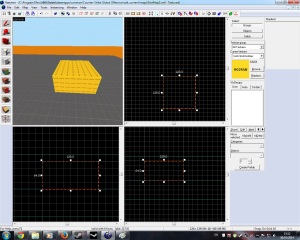
Then create a brush by selecting the Block Tools to create a template of the brush. Right click and select create object, or press Enter. Resize and reposition if required until you have something like this;

nodraw2

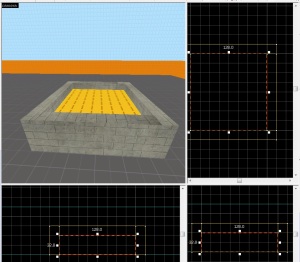
Then I recommend adding brushes around the nodraw texture (which will be our water) to make it a tub. These brushes should have a different texture (your choice) and higher that the nodraw texture. Like so;

nodraw3

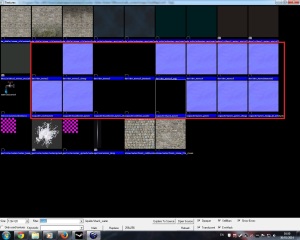
Now we come to turning the no draw brush into water. To do this open the Face Edit Sheet window by selecting the Toggle Texture or Shift + A. Select the browse button to open up the textures window, and filter for ‘water’. Select one of the textures that are within the red rectangle. (ones that have dev/ or liquid/)

water

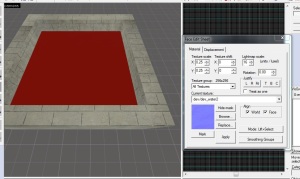
One you have one selected right click on the upper surface to apply.

water3

Compile and run the game to see the effect.

Different Waters in-game

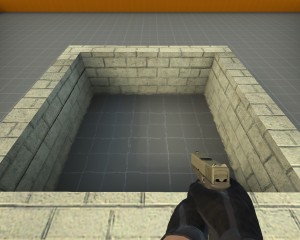
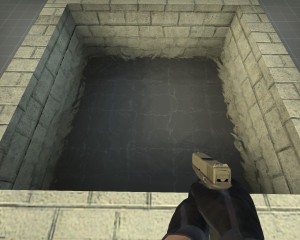
dev/dev_water2

2014-01-30_00001

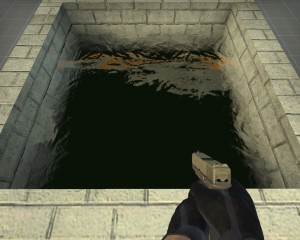
dev/dev_water2_cheap

2014-01-30_00002

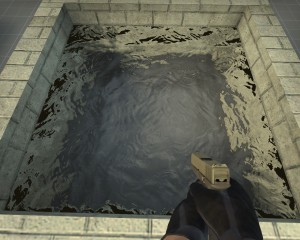
dev/dev_water3

2014-01-30_00003

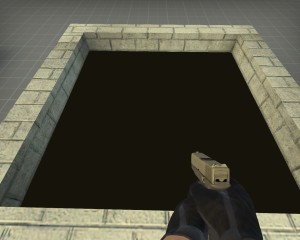
dev/dev_water3_beneath

2014-01-30_00004

dev/dev_water3_exp

2014-01-30_00005

dev/dev_water4

2014-01-30_00006

dev/dev_water5

2014-01-30_00007

dev/dev_waterbeneath2

2014-01-30_00008

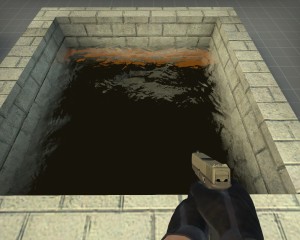
liquid/aztecwater

2014-01-30_00009

liquid/bathhouse_water

2014-01-30_00010

liquid/inferno_water

2014-01-30_00011

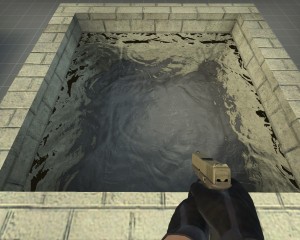
liquid/shack_water

2014-01-30_00012

water_lod_control

When using water in the level, it is required to add a water_lod_control entity. water_lod_control is a point entity. It is used to control the level of detail behaviour of any water in the map.

To add this, select the Entity Tool or Shift + E. Then filter for ‘water_lod_control’. Left click on the water to add it. Reposition it so that half of the entity is within the water. Finished, compile and run the game.

Textures – Are two-dimensional raster image in the context of a game engine. Textures in Source are stored in the Value Texture Format or .vtf.

When you begin to add objects such as blocks into your map and focus on the map layout, you want to use developer textures(Dev textures). Dev textures allow you to focus on the functionality of the map and gameplay without being sidetracked texturing.

To find developer textures, filter ‘dev’ or ‘measure’ in Texture Browser window:

devmeasure2

measure1

Now move on to replacing textures. To replace any texture already used in the map, first enable Toggle Texture Application Tool to open up Face Edit Sheet.

Face Edit Sheet is what you will be using for texture functionalities on object surfaces. With the Face Edit Sheet open, Left Click on any texture in your map to set that texture in the Face Edit Sheet.

face edit

Once you have it set, click on Replace. The Replace texture window will pop up. Here you can define what texture you want to use to replace the current texture with. Click browse to choose the texture you want to use to replace current texture.

face edit2

Texture Browser will pop up. This is where you will browse for different textures you want to use in your map. Once you have the texture you want click OK to replace.

Face Edit Sheet is useful for replacing textures as well as other things:

  • You can use to apply already placed textures from one brush to another by left click on the brush face to set current texture in Face edit Sheet, then right click on any other brush you want to place the texture on. (Left click to select and right click to apply)
  • Use new textures, click on browse, filter for the texture you want, once selected right click on the brush to apply.
  • Add texture to entire brush. Hold shift and right click on the brush (object). This will apply the texture on all faces of the brush instead of a single face or side.
  • To  align, scale, justify or rotate your textures, you left click on the face of the brush (This will set the preview window in the Face Edit Sheet). Then use the options to manipulate and align your texture. You can scale, rotate, justify (top, bottom, left, right, fit) or move your textures. Use the up/down arrows to change values. You will see the texture being manipulated in the perspective view port as you change .

If things do not turn as you would of liked, then you could always click on undo button or Ctrl + z to undo to try again.

Decals – materials projected onto existing surfaces. They can be placed by the level designer, and are also generated by the engine for bullet impacts, blood, and other effects.

To add decals you first need to select one. Click on the Browse (The same for when selecting a texture) and filter for ‘decal’ or ‘decals’

decal2

Double click on the required decal and then select Apply Overlays or Shift + O

decal

Right click on the brush to add the overlay.

Sometimes the overlay/decal may be too big, but it is possible to resize by selecting and resizing it through the views.

Warning : Adding decal on cracked brush may only appear on one surface. Also unable to add overlay on breakable brushes.

decal 3 decal4

First image (Left) shows the end of the surface, second half of the decal/overlay is missing. Second image (Right) Decal/overlay is added on breakable object, unfortunately the overlay will not show up in-game.